| Thumbnail |
Image Name |
Date |
Run Group |
Session |
Caption |
|
IMGP2757.jpg |
Nov 10 |
7 |
Qualifying |
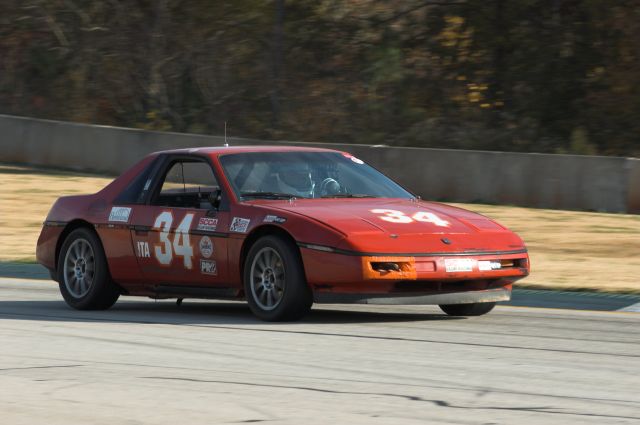
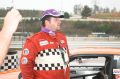
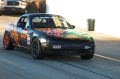
Scott Holton [ITA #34] starts down pit road for the restart of the Pro-IT session |
|
IMGP2782.jpg |
Nov 10 |
0 |
Paddock |
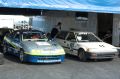
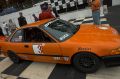
A couple of the entrants supported at the track by the local OPM Autosports. |
|
IMGP2830.jpg |
Nov 10 |
4 |
Qualifying |
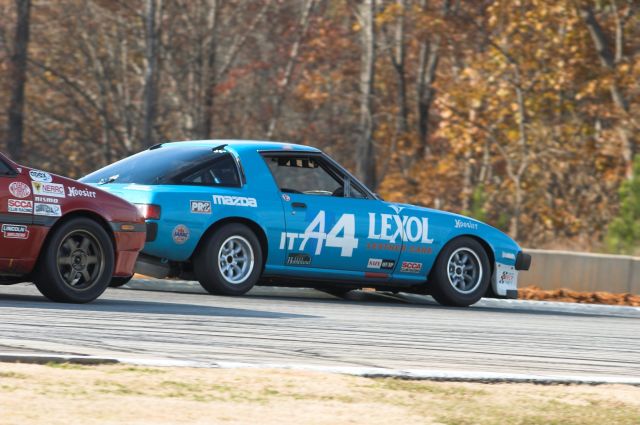
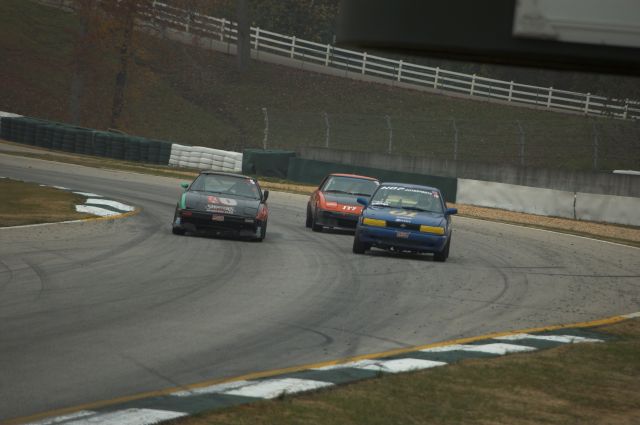
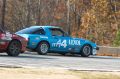
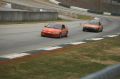
Greg Amy [ITA #33] set up Alan Faver [IT7 #44] going into Turn 7 and is about to make the pass on the back straight |

|
IMGP2831.jpg |
Nov 10 |
4 |
Qualifying |
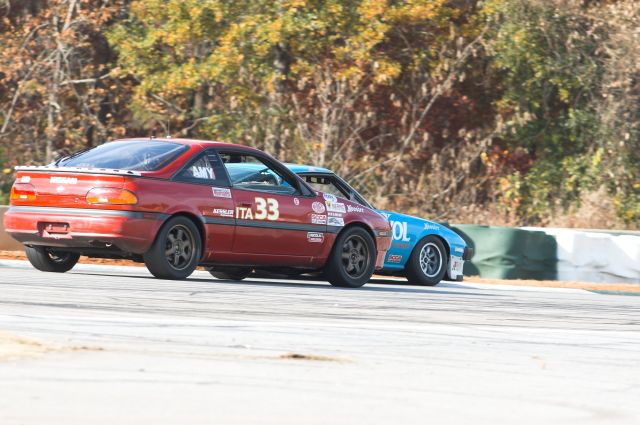
Greg Amy [ITA #33] set up Alan Faver [IT7 #44] going into Turn 7 and is about to make the pass on the back straight |
|
IMGP2832.jpg |
Nov 10 |
4 |
Qualifying |
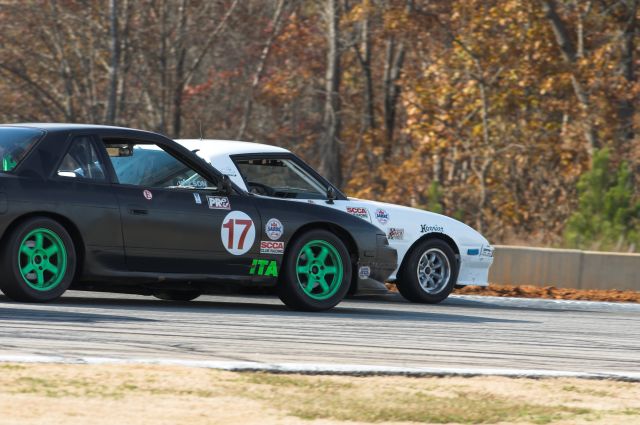
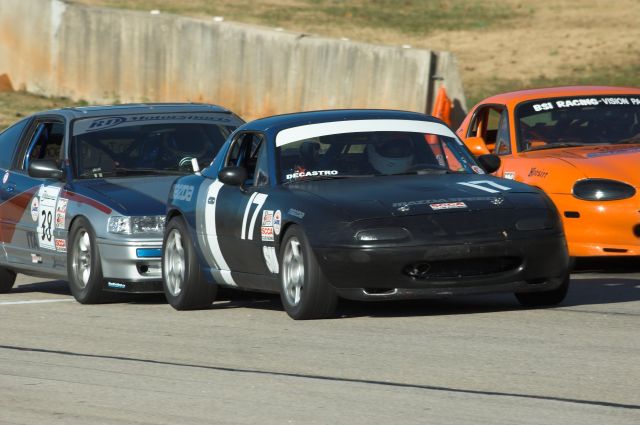
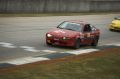
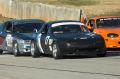
David Montgomery [ITA #17] tries to pass Jim Jandrisevits [IT7 #35] as they come out of Turn 7 and head out onto the back straight |
|
IMGP2835.jpg |
Nov 10 |
4 |
Qualifying |
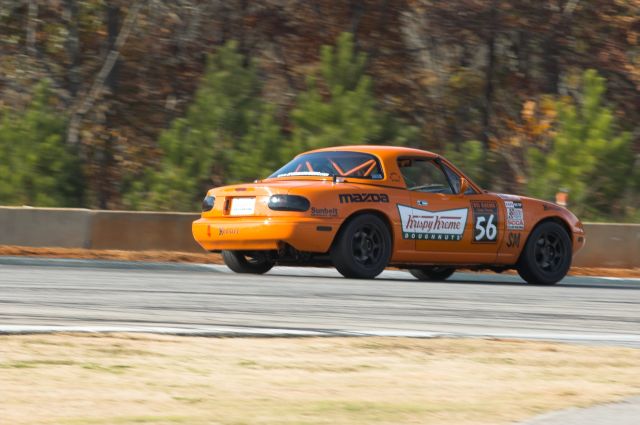
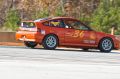
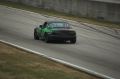
Todd Buras [ITA #56] heads out of Turn 7 and onto the back straight |
|
IMGP2836.jpg |
Nov 10 |
4 |
Qualifying |
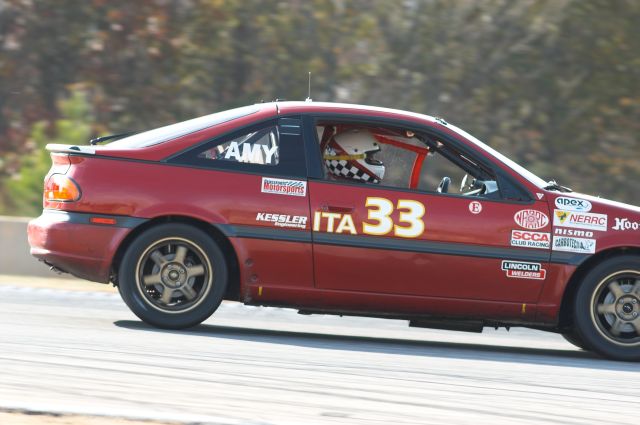
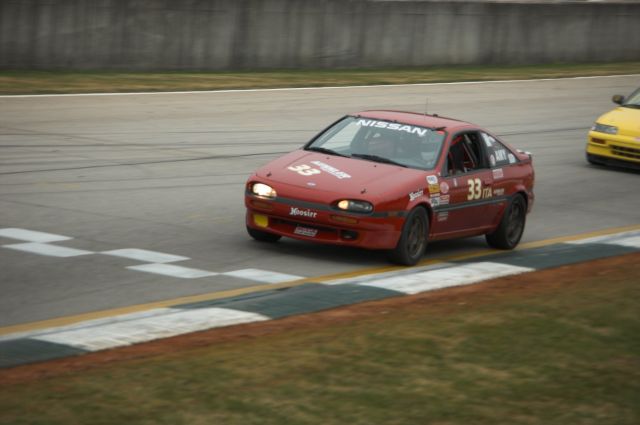
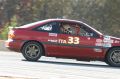
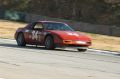
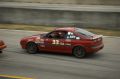
Greg Amy [ITA #33] tracks out of Turn 7 |
|
IMGP2837.jpg |
Nov 10 |
4 |
Qualifying |
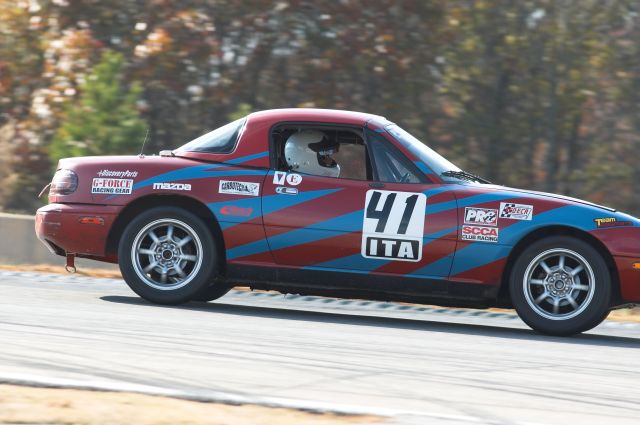
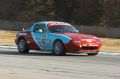
Stanley Mitchem [ITA #41] tracks out from Turn 7 |

|
IMGP2839.jpg |
Nov 10 |
4 |
Qualifying |
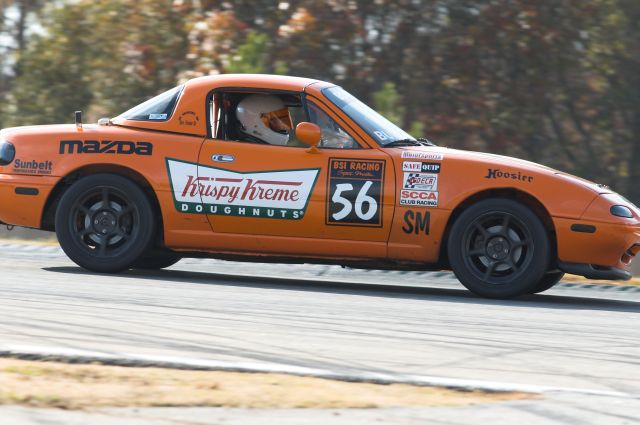
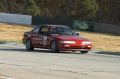
Todd Buras [ITA #56] tracks out from Turn 7 |
|
IMGP2840.jpg |
Nov 10 |
4 |
Qualifying |
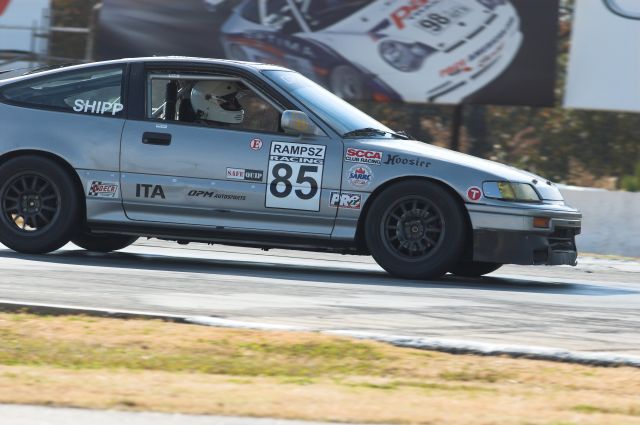
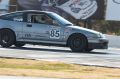
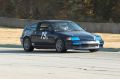
Christian Shipp [ITA #85] tracks out from Turn 7 |
|
IMGP2842.jpg |
Nov 10 |
4 |
Qualifying |
David Montgomery [ITA #17] tracks out from Turn 7 and heads onto the back straight |
|
IMGP2843.jpg |
Nov 10 |
4 |
Qualifying |
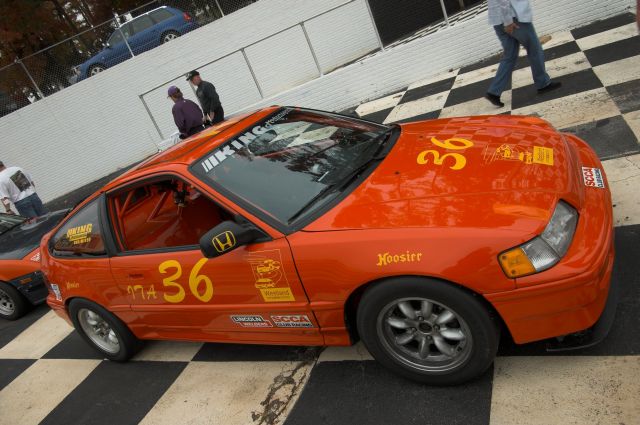
Robert Moser [ITA #36] tracks out from Turn 7 and heads onto the back straight |
|
IMGP2844.jpg |
Nov 10 |
4 |
Qualifying |
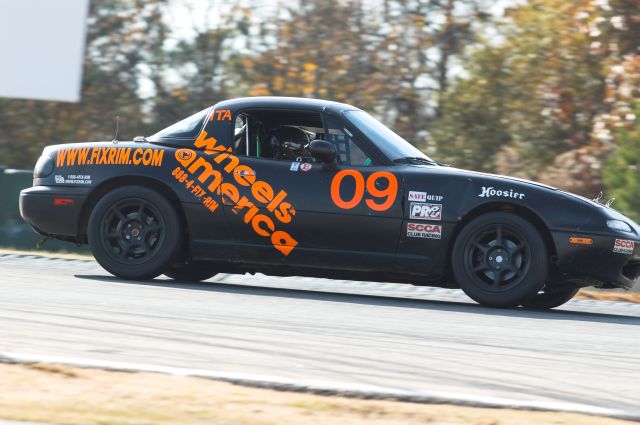
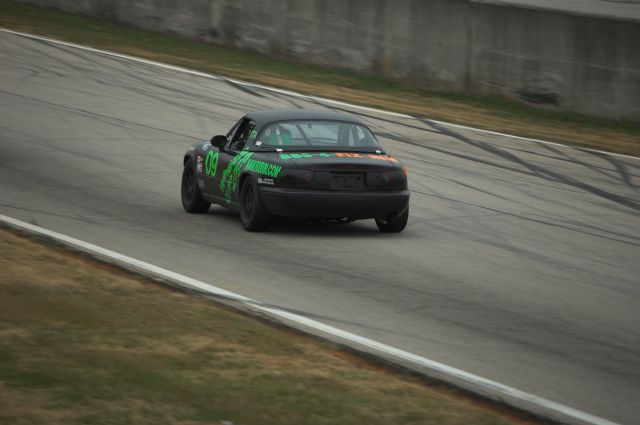
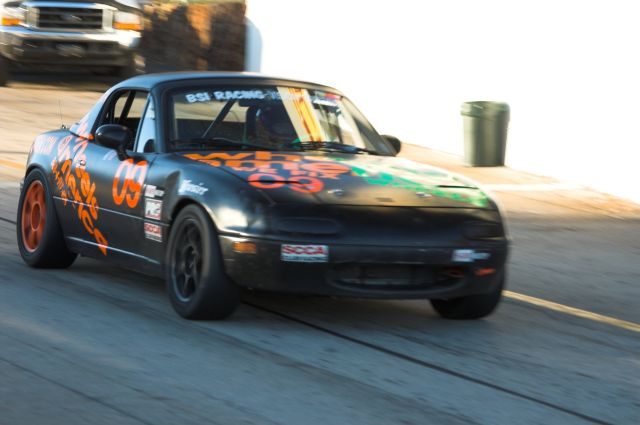
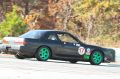
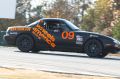
Bob Stretch [ITA #09] tracks out from Turn 7 |
|
IMGP2845.jpg |
Nov 10 |
4 |
Qualifying |
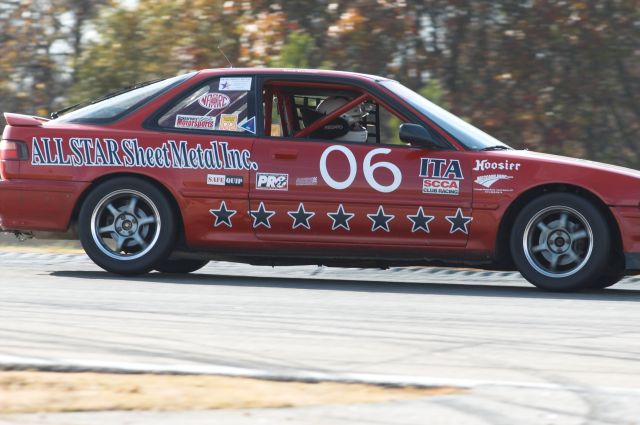
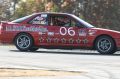
Enrik Benazic [ITA #06] tracks out from Turn 7 |

|
IMGP2846.jpg |
Nov 10 |
4 |
Qualifying |
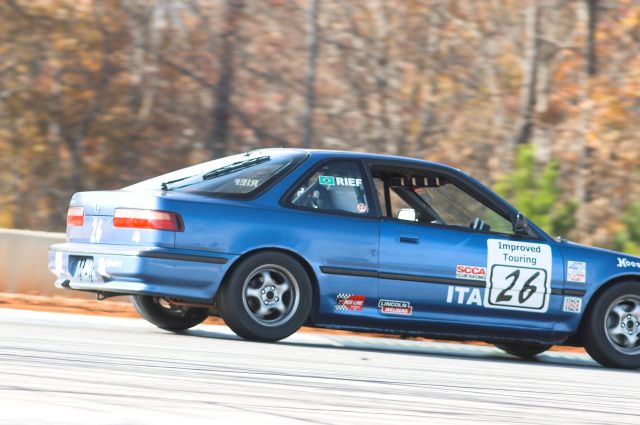
Jan Rief [ITA #26] tracks out from Turn 7 |
|
IMGP2847.jpg |
Nov 10 |
4 |
Qualifying |
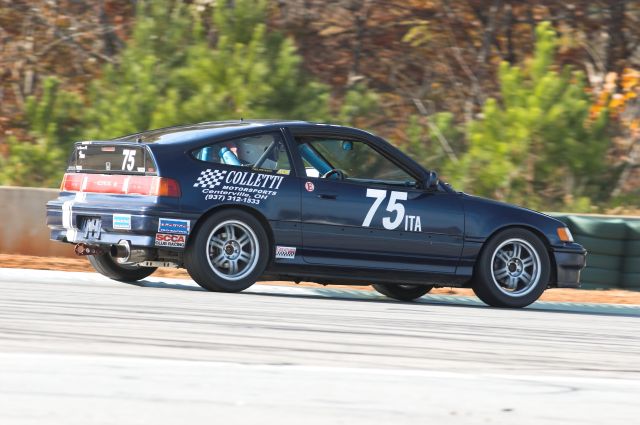
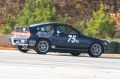
Mark Frost [ITA #75] tracks out from Turn 7 and heads onto the back straight |
|
IMGP2848.jpg |
Nov 10 |
4 |
Qualifying |
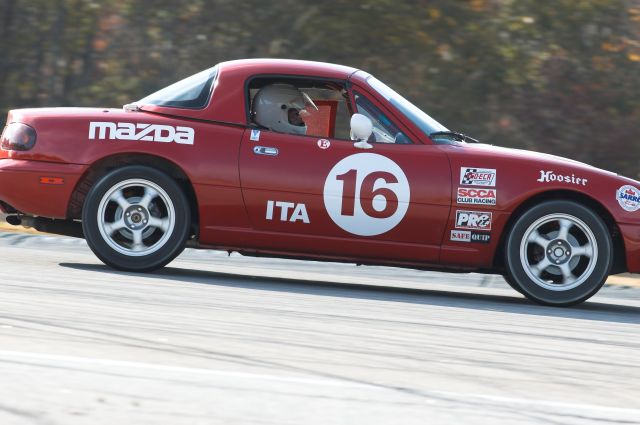
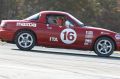
Joe Tenney [ITA #16] tracks out from Turn 7 |
|
IMGP2849.jpg |
Nov 10 |
4 |
Qualifying |
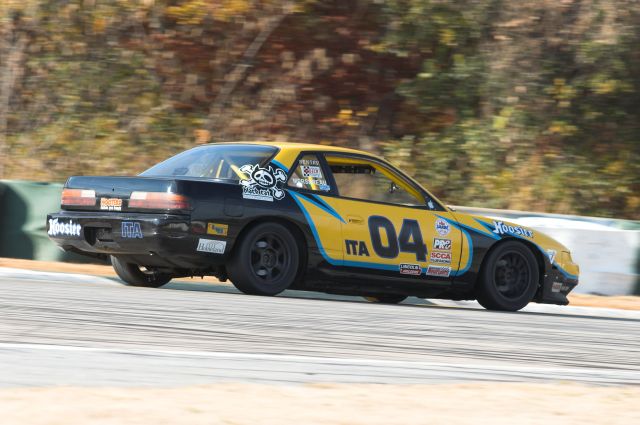
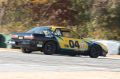
Ken Mersereau [ITA #04] tracks out from Turn 7 and heads onto the back straight |

|
IMGP2852.jpg |
Nov 10 |
4 |
Qualifying |
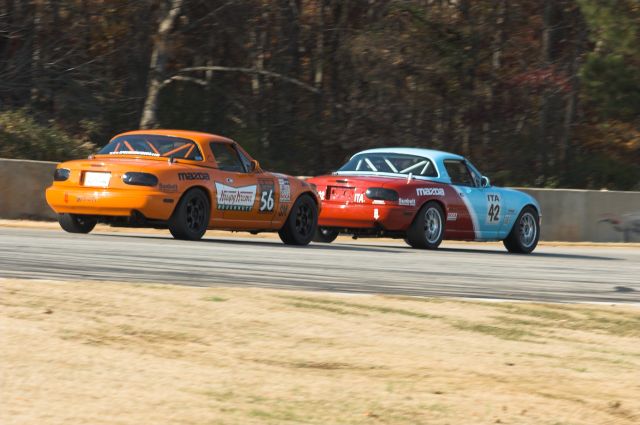
Colin Harmer [ITA #42] leads Todd Buras [ITA #56] onto the back straight from Turn 7 |
|
IMGP2853.jpg |
Nov 10 |
4 |
Qualifying |
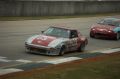
Charles Willyard [ITA #34] roars into the braking zone for Turn 7 |
|
IMGP2854.jpg |
Nov 10 |
4 |
Qualifying |
Colin Harmer [ITA #42] starts braking for Turn 7 |

|
IMGP2855.jpg |
Nov 10 |
4 |
Qualifying |
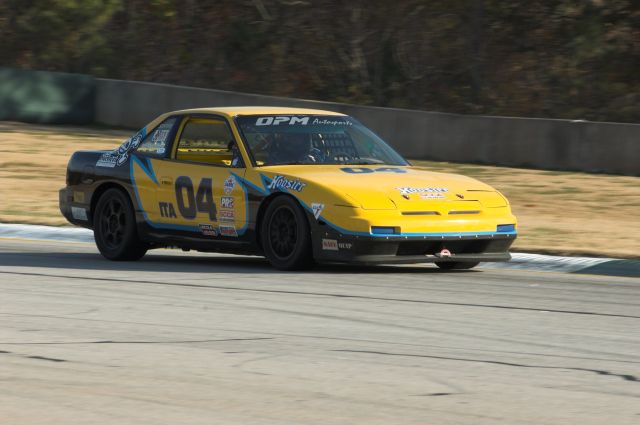
Ken Mersereau [ITA #04] starts braking for Turn 7 |
|
IMGP2856.jpg |
Nov 10 |
4 |
Qualifying |
Daniel Esteban [ITA #02] starts braking for Turn 7 |
|
IMGP2859.jpg |
Nov 10 |
4 |
Qualifying |
Mark Frost [ITA #75] switches from accelerating to braking as he approaches Turn 7 |

|
IMGP2860.jpg |
Nov 10 |
4 |
Qualifying |
Charles Willyard [ITA #34] switches from accelerating to braking as he approaches Turn 7 |
|
IMGP2903.jpg |
Nov 10 |
7 |
Race |
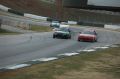
Bob Stretch [ITA #09] and Enrik Benazic [ITA #06] lead Michael Cottrell [ASM #99] and Jim Drago [ASM #2] through Turn 12 and onto the front straight |

|
IMGP3086.jpg |
Nov 11 |
4 |
Race |
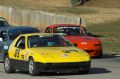
After travelling all the way from Shelbyville, IN, to run in the ARRC, Mark Frost's ITA #75 encountered a tire problem early in the Group 4 race and put him out after one complete lap |
|
IMGP3087.jpg |
Nov 11 |
4 |
Race |
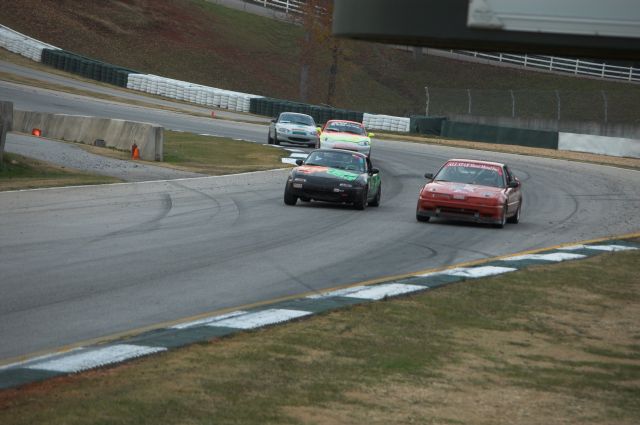
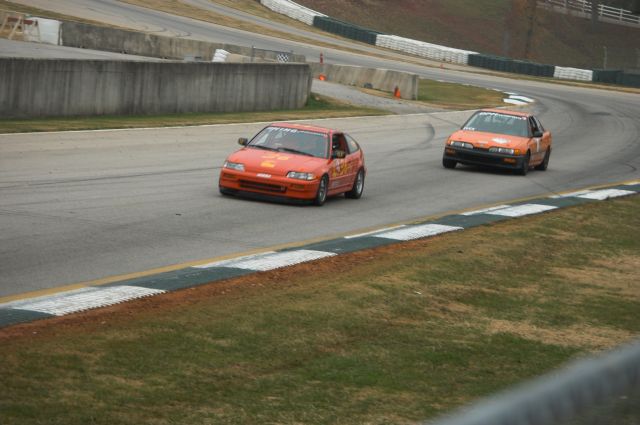
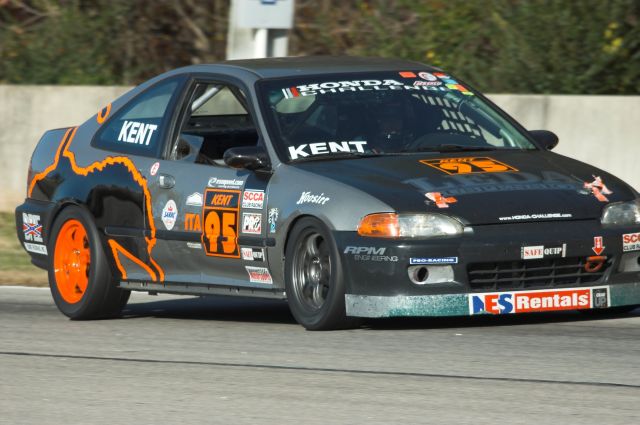
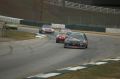
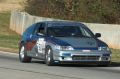
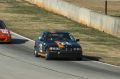
Lionel Kent's ITA #95 Honda Civic leads a small pack through Turn 12 during the Group 4 race |

|
IMGP3090.jpg |
Nov 11 |
4 |
Race |
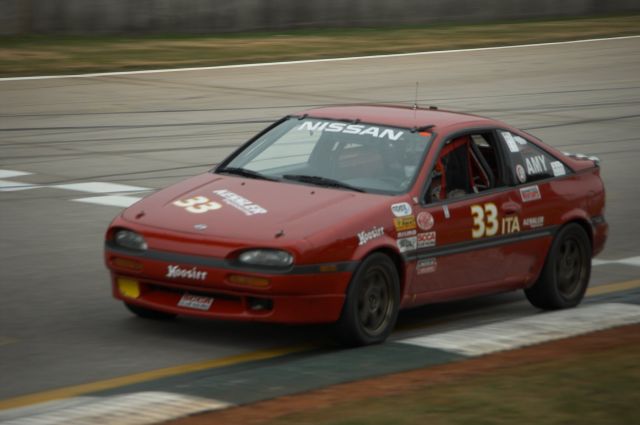
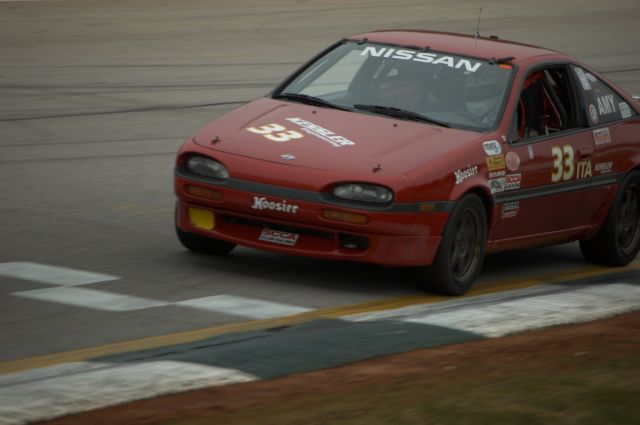
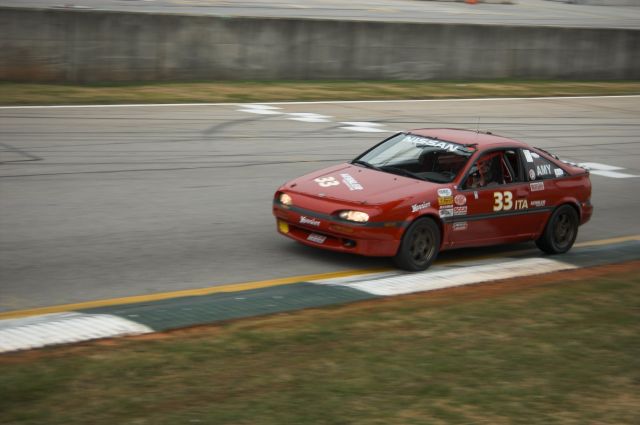
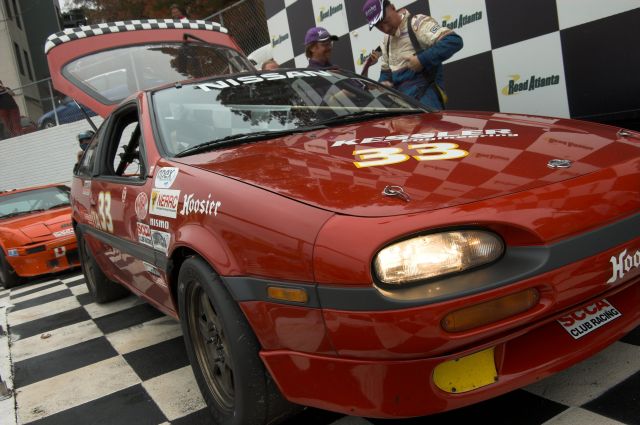
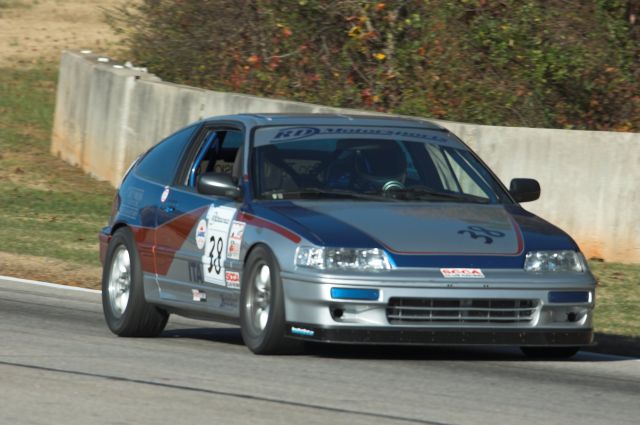
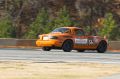
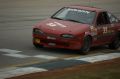
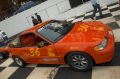
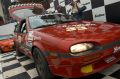
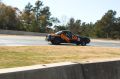
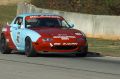
Greg Amy's ITA #33 Nissan NX2000 screams down the front stretch on its way to a win in the Group 4 race |
|
IMGP3093.jpg |
Nov 11 |
4 |
Race |
Greg Amy's ITA #33 Nissan NX2000 screams down the front stretch on its way to a win in the Group 4 race |

|
IMGP3094.jpg |
Nov 11 |
4 |
Race |
Passing through Turn 12 during the Group 4 ARRC race |
|
IMGP3097.jpg |
Nov 11 |
4 |
Race |
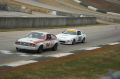
Jim Jandrisevits [IT7 #35] tries to put a lap on the ITA #94 of Ed Forrest |
|
IMGP3098.jpg |
Nov 11 |
4 |
Race |
Race leader and eventual winner Greg Amy leads the field into another lap during the Group 4 ARRC race |
|
IMGP3103.jpg |
Nov 11 |
4 |
Race |
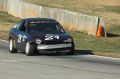
Robert Moser [ITA #36] and Kevin Ruck [ITA #3] fight it out for second place as they approach the start line during the Group 4 ARRC race |

|
IMGP3106.jpg |
Nov 11 |
4 |
Race |
Race leader and eventual winner Greg Amy [ITA #33] starts another lap during the Group 4 ARRC race |
|
IMGP3108.jpg |
Nov 11 |
4 |
Race |
Eventual fourth place finisher Bob Stretch [ITA #09] races down the front straight in his attempt to chase down Moser [ITA #36] and Ruck [ITA #3] for P2 or P3 |
|
IMGP3117.jpg |
Nov 11 |
4 |
Race |
Race leader and eventual winner Greg Amy works his way through traffic on the front stretch late in the Group 4 ARRC race |
|
IMGP3118.jpg |
Nov 11 |
4 |
Race |
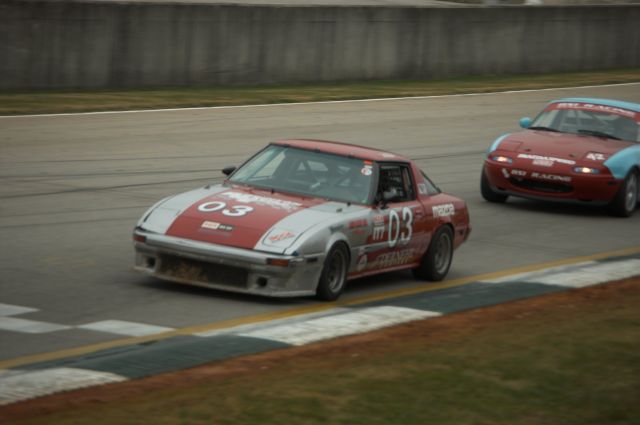
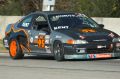
Atlanta's Sean Dernehl [IT7 #03] and Colin Harmer [ITA #42] battle it out on the front stratight during the Group 4 ARRC race |

|
IMGP3121.jpg |
Nov 11 |
4 |
Podium |
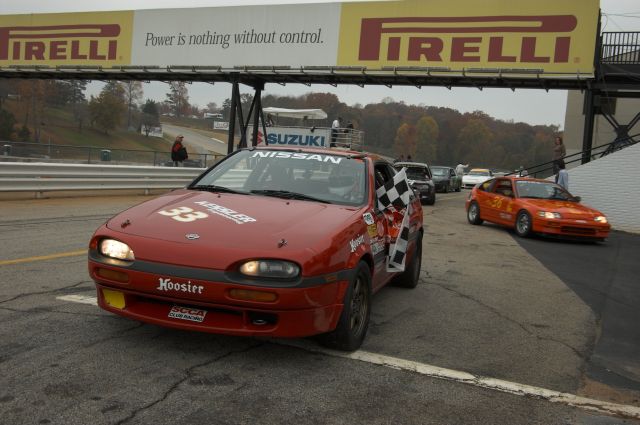
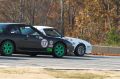
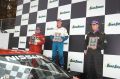
Group 4 overall and ITA class winner Greg Amy [ITA #33] starts his Victory Lap |
|
IMGP3125.jpg |
Nov 11 |
4 |
Podium |
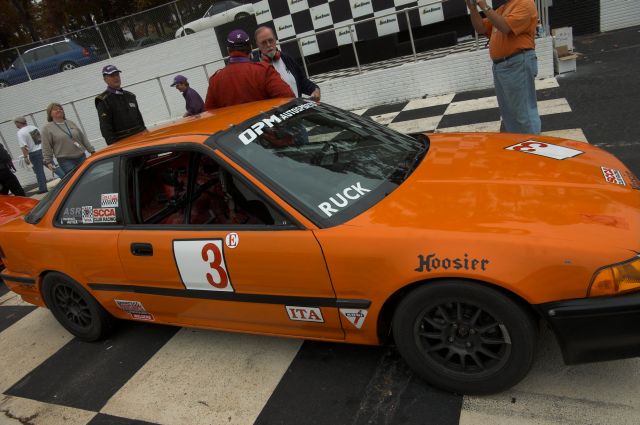
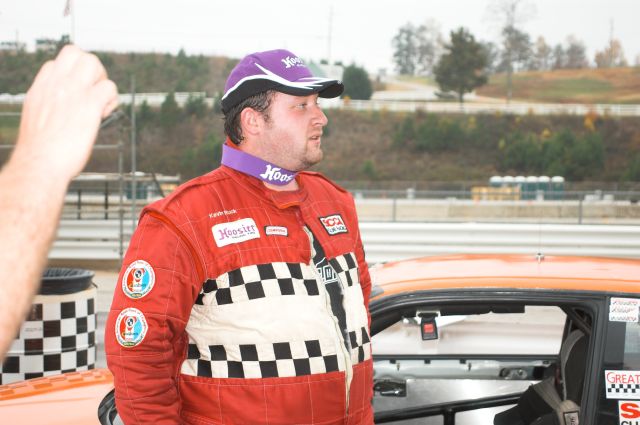
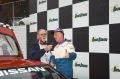
ITA Second Place finisher Kevin Ruck [ITA #3] gives a Victory Lane interview after the Group 4 ARRC race |
|
IMGP3126.jpg |
Nov 11 |
4 |
Podium |
Robert Moser's ITA Third Place car in Victory Lane |
|
IMGP3129.jpg |
Nov 11 |
4 |
Podium |
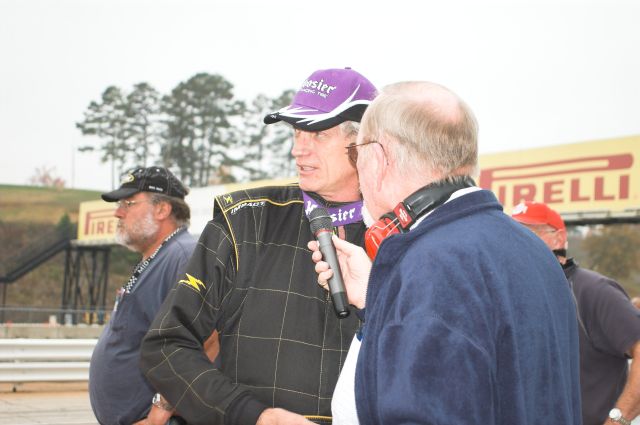
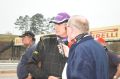
ITA Third Place Robert Moser driver gives a post-race interview |
|
IMGP3130.jpg |
Nov 11 |
4 |
Podium |
ITA Second Place finisher Kevin Ruck looks on as the post race interviews progress |
|
IMGP3135.jpg |
Nov 11 |
4 |
Podium |
Greg Amy and his ITA and overall winning #33 car on the podium in the Winner's Circle |
|
IMGP3136.jpg |
Nov 11 |
4 |
Podium |
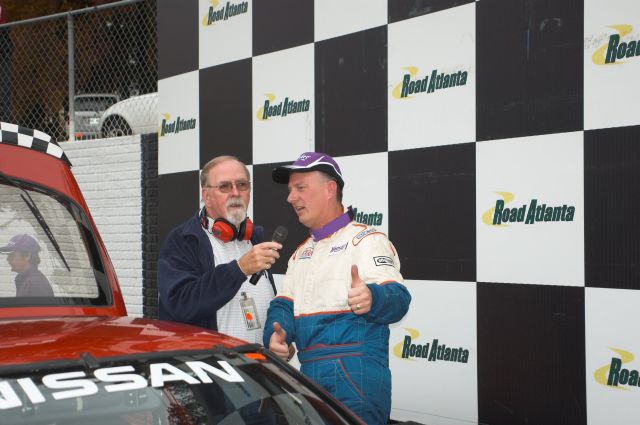
ITA class and overall winner Greg Amy gives a post race interview from the podium |
|
IMGP3138.jpg |
Nov 11 |
4 |
Podium |
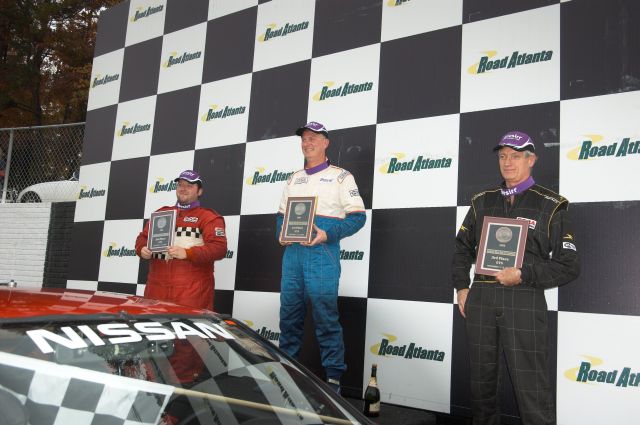
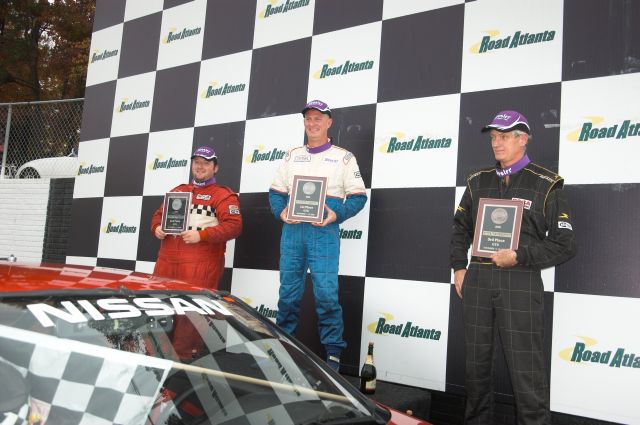
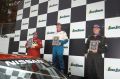
The ITA podium after the Group 4 ARRC race |
|
IMGP3139.jpg |
Nov 11 |
4 |
Podium |
The ITA podium after the Group 4 ARRC race |

|
IMGP3149.jpg |
Nov 11 |
4 |
Worker |
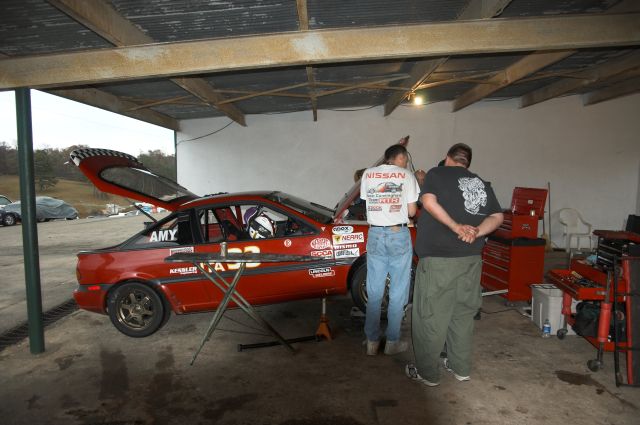
The post-race technical inspection of the ITA class winner, #33 Greg Amy, was very thorough |
|
IMGP3176.jpg |
Nov 12 |
9 |
Race |
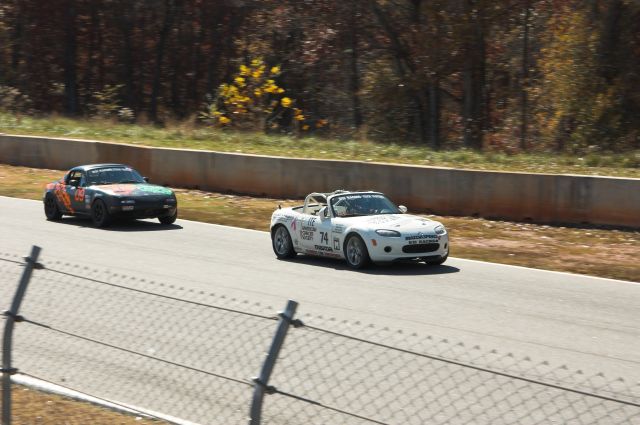
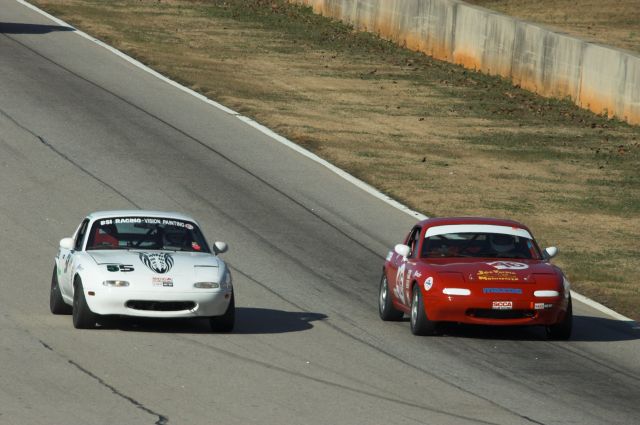
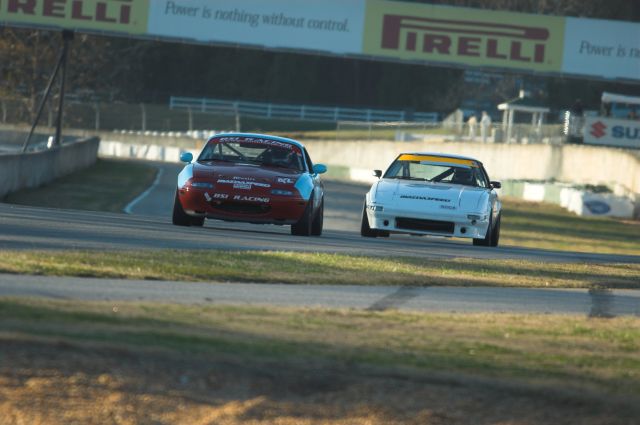
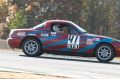
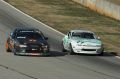
Pat Sandlin [ASM #74] and Bob Stretch [ITA #09] battled furiously for almost the entire Miata Madness race, with Sandlin eventually taking the win |

|
IMGP3181.jpg |
Nov 12 |
9 |
Race |
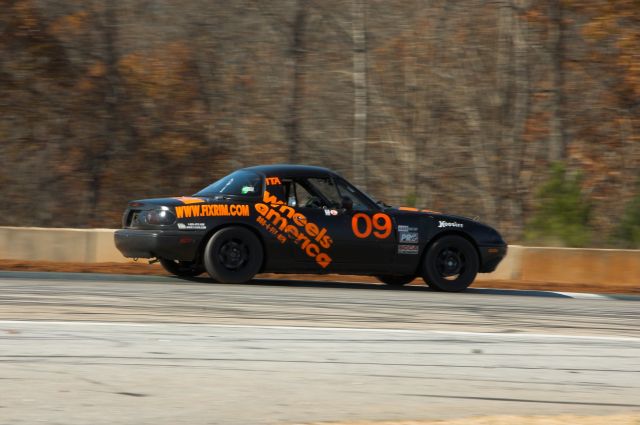
Another lap in the hard fought battle between Pat Sandlin [ASM #74] and Bob Stretch [ITA #09] for the win in the Miata Madness race |
|
IMGP3186.jpg |
Nov 12 |
9 |
Race |
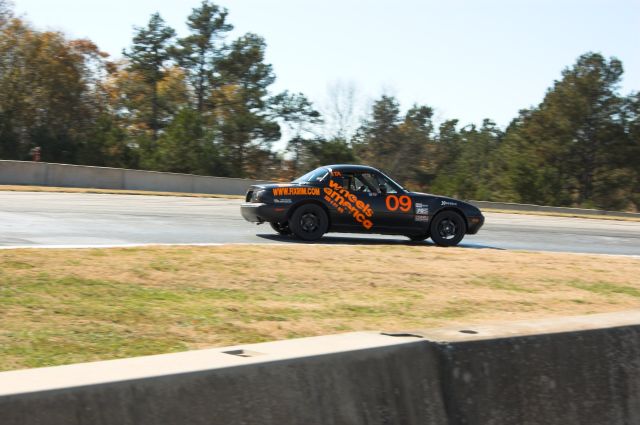
Bob Stretch [ITA #09] chases the ASM #74 of Pat Sandlin onto the back stretch as they fight for the win in the Miata Madness race |
|
IMGP3195.jpg |
Nov 12 |
9 |
Race |
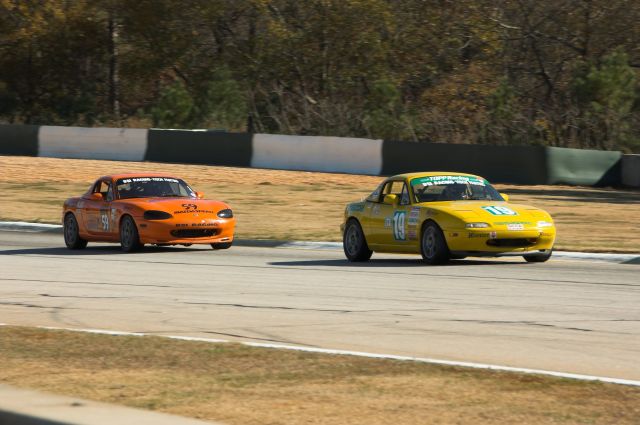
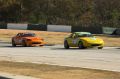
Mac Spikes [ITA #19] leads Michael Gatto [ASM #59] from Turn 6 to Turn 7 during the Miata Madness race |
|
IMGP3202.jpg |
Nov 12 |
9 |
Race |
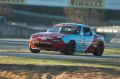
Bob Stretch [ITA #09] hits the apex of Turn 7 during the Miata Madness race as he chases the #74 ASM car of Pat Sandlin |
|
IMGP3224.jpg |
Nov 12 |
9 |
Race |
Mac Spikes [ITA #19] uses the rumble strips to make the exit of Turn 7 just a little bit wider during the Miata Madness race |

|
IMGP3373.jpg |
Nov 12 |
11 |
Race |
Michael Fine [ITS #57] chases Bob Stretch [ITA #09] into the braking zone for Turn 6 during the Enduro |
|
IMGP3380.jpg |
Nov 12 |
11 |
Race |
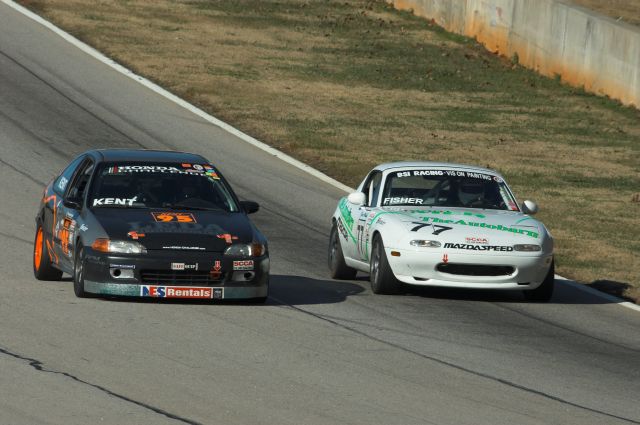
Lyonel Kent [ITA #95] tries to put a move on Richard Fisher [ASM #77] going into the braking zone for Turn 6 during the Enduro |
|
IMGP3391.jpg |
Nov 12 |
11 |
Race |
Chuck Reynolds [ITA #38] brakes hard entereing Turn 6 during the Enduro |
|
IMGP3393.jpg |
Nov 12 |
11 |
Race |
Colin Harmer [ITA #42] brakes hard going into Turn 6 during the Enduro |
|
IMGP3397.jpg |
Nov 12 |
11 |
Race |
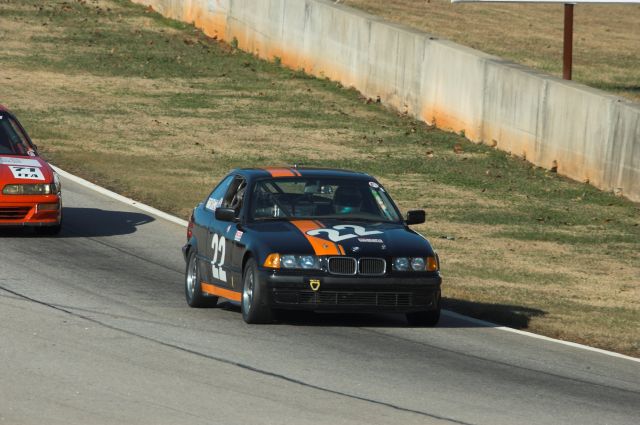
George Kerchner [ITO #22] leads Evan Darling [ITA #71] into the braking zone for Turn 6 during the Enduro |

|
IMGP3400.jpg |
Nov 12 |
11 |
Race |
Julia Dawson [ASM #55] gives Joe Tenney [ITA #46] room to pass going into Turn 6 during the Enduro |
|
IMGP3407.jpg |
Nov 12 |
11 |
Race |
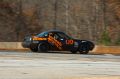
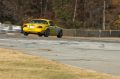
Having lost his front spoiler early in the Enduro, Kevin Fandozzi [ITA #24] powers on |
|
IMGP3416.jpg |
Nov 12 |
11 |
Race |
Lyonel Kent brakes hard entering Turn 6 during the Enduro |
|
IMGP3418.jpg |
Nov 12 |
11 |
Race |
Karl Fischer [ASM #17] and Chuck Reynolds [ITA #38] dive past one of the BSI racing Miatas in the braking zone for Turn 6 during the Enduro |
|
IMGP3423.jpg |
Nov 12 |
11 |
Race |
Lynn Kraft [ITS #39] and Beau Buisson [ITA #05] give Robert Fitzgerald [ASM #23] room to pass entering Turn 6 during the Enduro |
|
IMGP3440.jpg |
Nov 12 |
11 |
Race |
Colin Harmer [ITA #42] returns to the track after one of the Enduro's two mandatory pit stops |

|
IMGP3454.jpg |
Nov 12 |
11 |
Race |
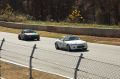
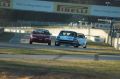
Bob Stretch [ITA #09] and Steve Devinney [SSM #88] lead part of the field down the front stretch, three wide, late in the Enduro |
|
IMGP3455.jpg |
Nov 12 |
11 |
Race |
David Kim [ITS #27], Jim Jandrisevits [IT7 #35] and Joe Tenney [ITA #46] fight for position entering Turn 1 late in the Enduro |

|
IMGP3461.jpg |
Nov 12 |
11 |
Race |
Jim Jandrisevits [IT7 #35] goes a lap down to Colin Harmer [ITA #42] as they enter Turn 1 in the Enduro |
|
IMGP3465.jpg |
Nov 12 |
11 |
Race |
Bob Stretch [ITA #09] enters pit road for his second mandatory pit stop during the waning laps of the ARRC Enduro |
|
IMGP3485.jpg |
Nov 12 |
11 |
Race |
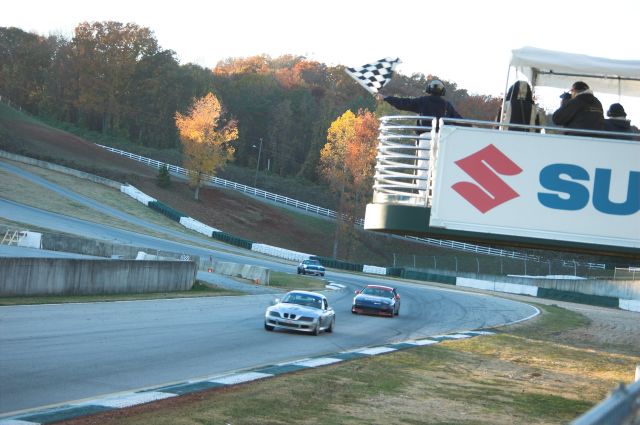
The checkered flag waves for enduro winner Kent Thompson [ITS #86] |