| Thumbnail |
Image Name |
Date |
Run Group |
Session |
Caption |
|
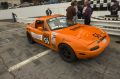
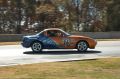
IMGP2903.jpg |
Nov 10 |
7 |
Race |
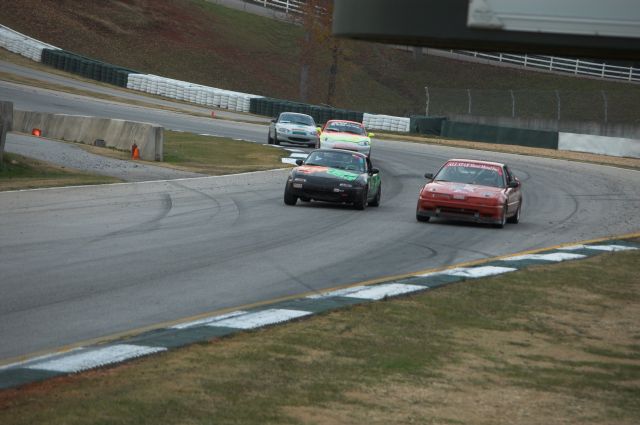
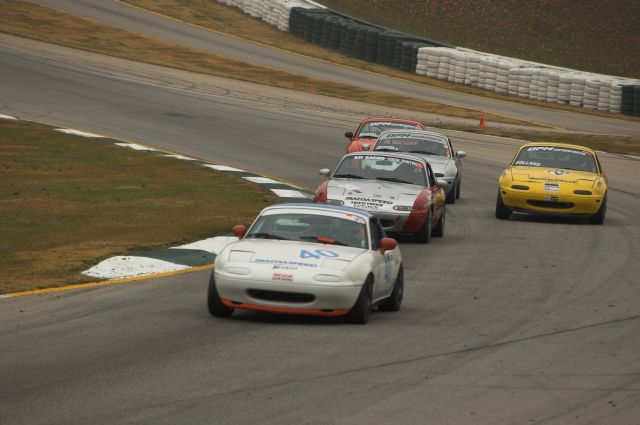
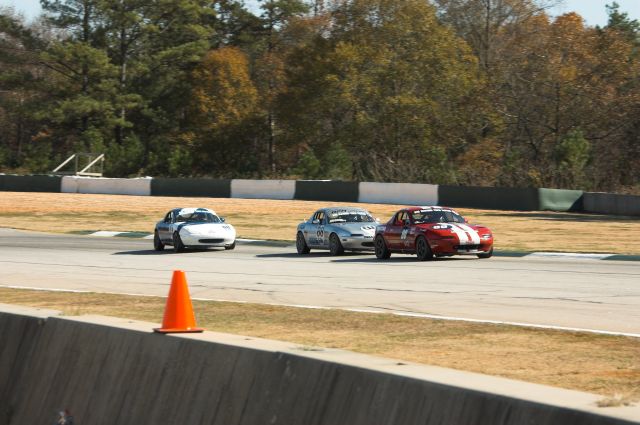
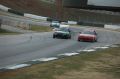
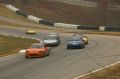
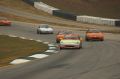
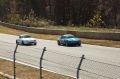
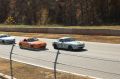
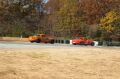
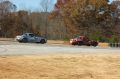
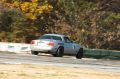
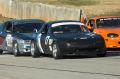
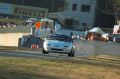
Bob Stretch [ITA #09] and Enrik Benazic [ITA #06] lead Michael Cottrell [ASM #99] and Jim Drago [ASM #2] through Turn 12 and onto the front straight |

|
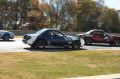
IMGP2907.jpg |
Nov 10 |
7 |
Race |
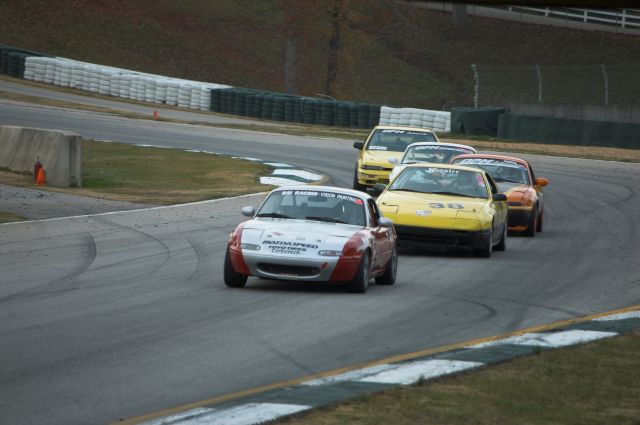
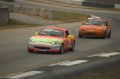
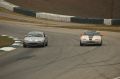
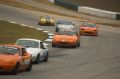
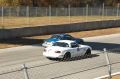
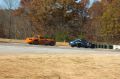
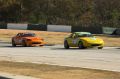
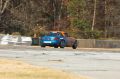
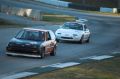
A pack of Pro-IT cars leaves Turn 12 and heads for the start line and the front straight |
|
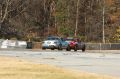
IMGP2936.jpg |
Nov 11 |
1 |
Race |
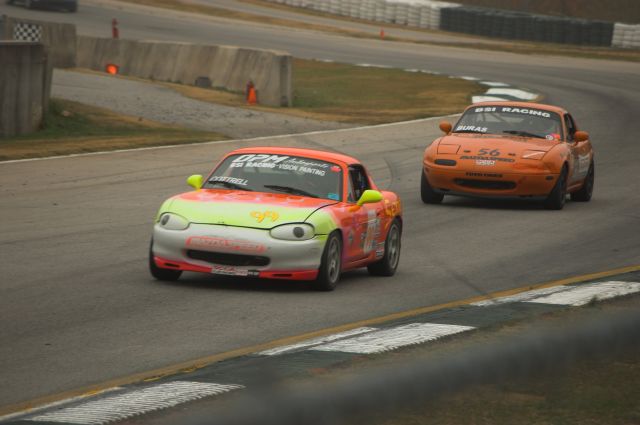
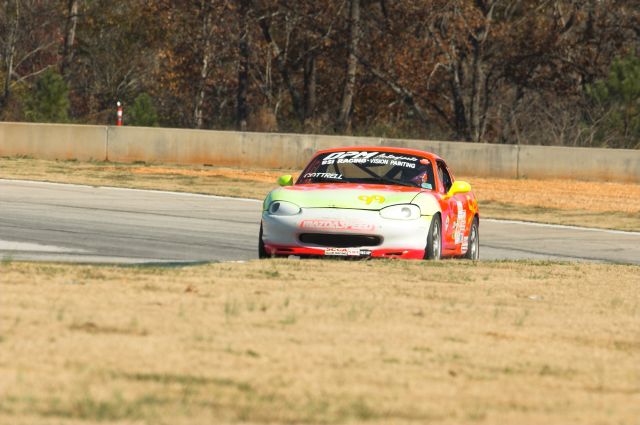
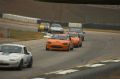
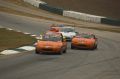
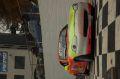
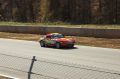
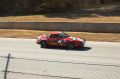
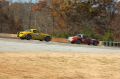
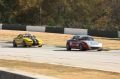
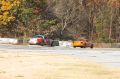
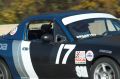
The leaders Michael Cottrell [ASM #99] and Todd Bras [ASM #56] complete another lap in the Group 1 ARRC race |
|
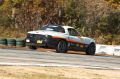
IMGP2937.jpg |
Nov 11 |
1 |
Race |
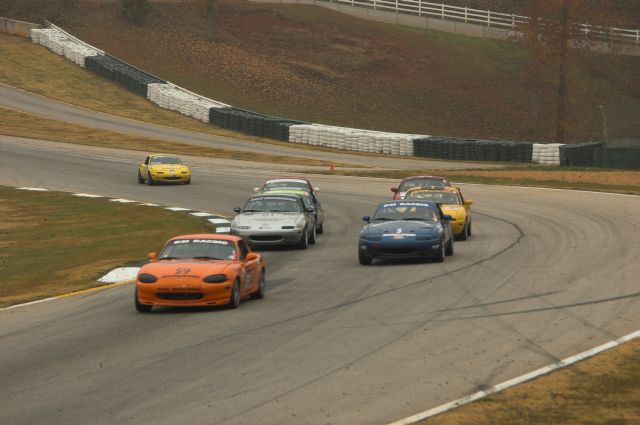
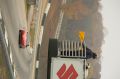
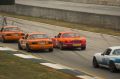
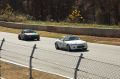
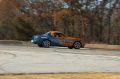
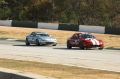
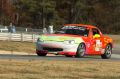
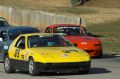
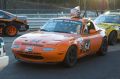
Don Reynolds [ASM #35] leads Michael Gatto [ASM #59] and others through Turn 12 to complete another lap in the Group 1 ARRC race |
|
IMGP2938.jpg |
Nov 11 |
1 |
Worker |
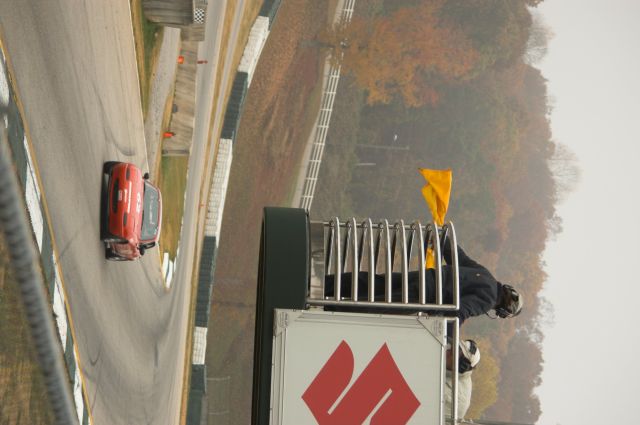
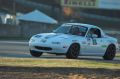
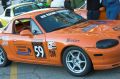
A full course caution begins in the Group 1 ARRC race |
|
IMGP2949.jpg |
Nov 11 |
1 |
Race |
Michael Gatto [ASM #59] leads part of the Group 1 pack to the start/finish line to complete another lap in the Group 1 ARRC race |
|
IMGP2950.jpg |
Nov 11 |
1 |
Race |
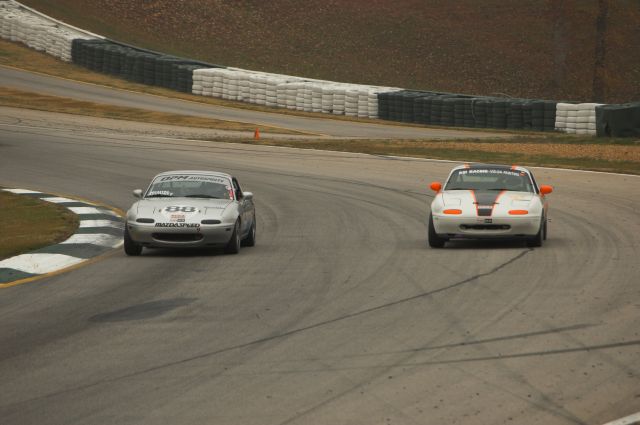
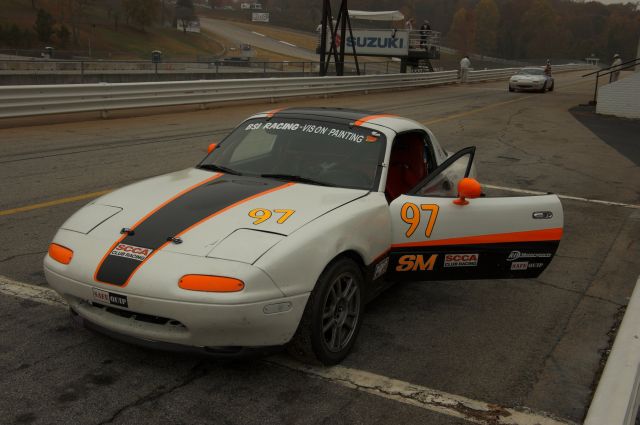
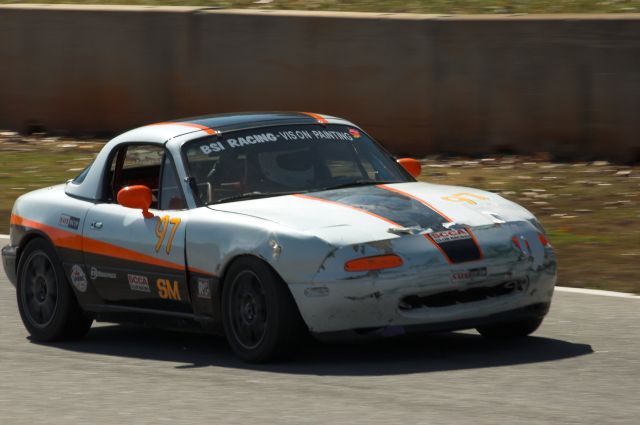
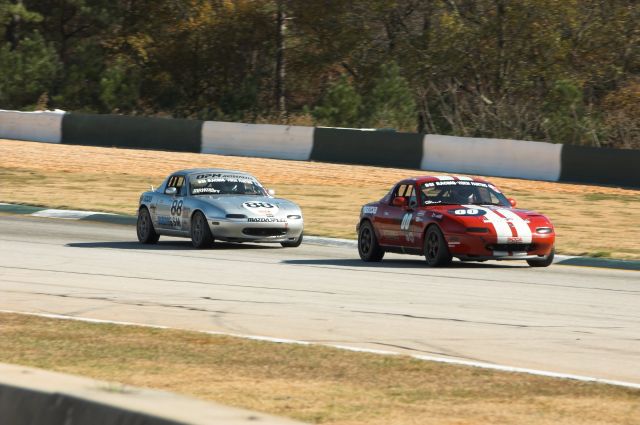
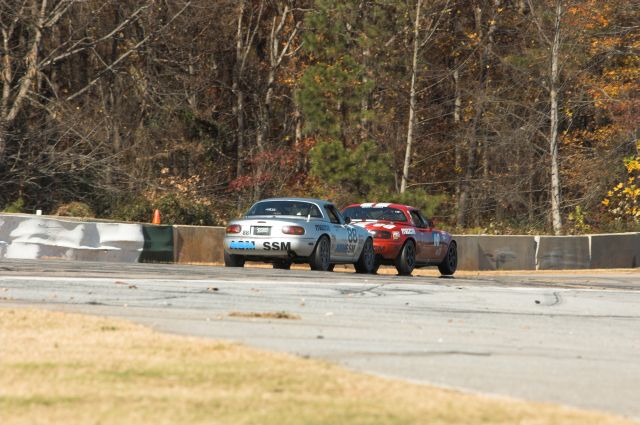
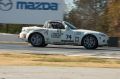
Dave Colledge [ASM #97] gives Steve Devinney [SSM #88] room to pass through Turn 12 |
|
IMGP2952.jpg |
Nov 11 |
1 |
Race |
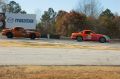
The pointy end of the Group 1 field fights through Turn 12 |
|
IMGP2953.jpg |
Nov 11 |
1 |
Race |
The pointy end of the Group 1 field heads down the front stretch to start the battle for the next lap |

|
IMGP2955.jpg |
Nov 11 |
1 |
Race |
Another battle for position near the front of the pack makes its way through Turn 12 during the Group 1 ARRC race |
|
IMGP2957.jpg |
Nov 11 |
1 |
Race |
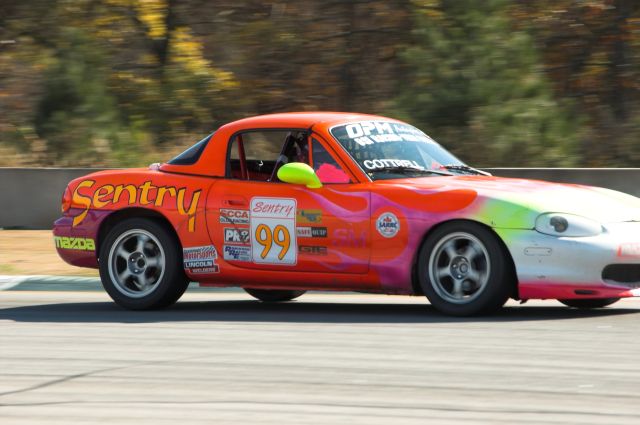
Michel Cottrell [ASM #99] leads the Group 1 ARRC field to the start/finish line to complete another lap |
|
IMGP2958.jpg |
Nov 11 |
1 |
Race |
The "Second Pack" in the Group 1 ARRC race comes through Turn 12 headed for the start/finish line and the beginning of the next lap in the battle for position |
|
IMGP2959.jpg |
Nov 11 |
1 |
Podium |
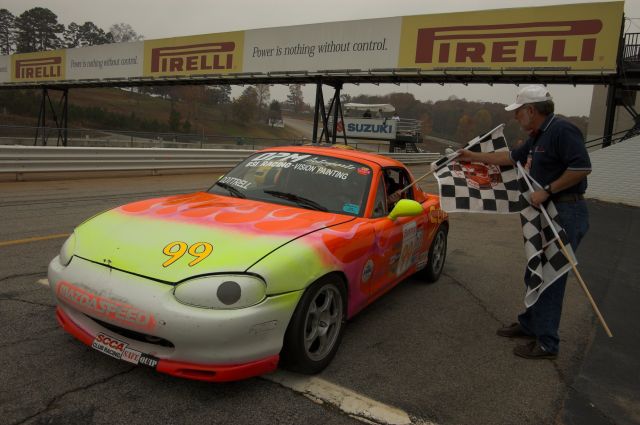
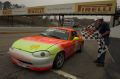
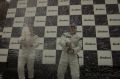
Michael Cottrell [ASM #99] receives the ARRC checkered flag to make his Victory Lap |
|
IMGP2960.jpg |
Nov 11 |
1 |
Podium |
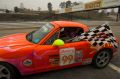
Michael Cottrell [ASM #99] begins his victory lap after the Group 1 ARRC race |
|
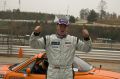
IMGP2961.jpg |
Nov 11 |
1 |
Podium |
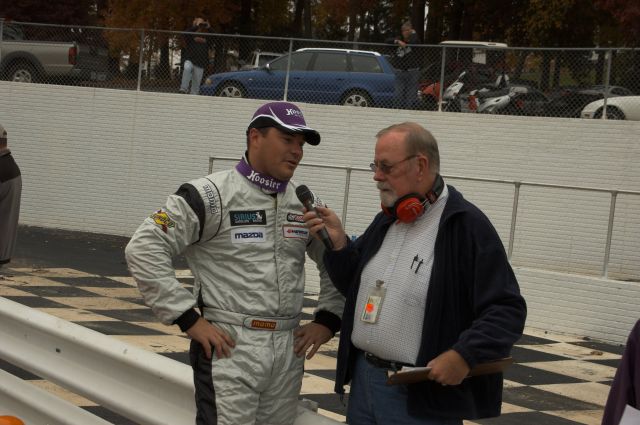
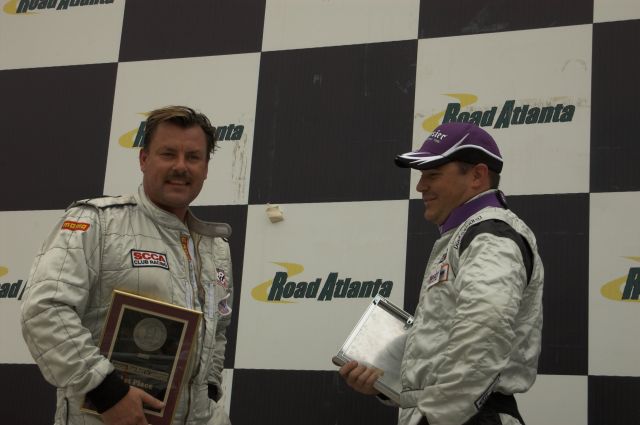
Second place overall in the Group 1 race, Todd Buras [ASM #56] gives an interview on the podium while the winner, Michale Cottrell, makes his Victory Lap |

|
IMGP2962.jpg |
Nov 11 |
1 |
Podium |
Todd Buras [ASM #56] gives a podium interview after taking second place overall in the Group 1 race at the ARRC |
|
IMGP2963.jpg |
Nov 11 |
1 |
Podium |
Todd Buras [ASM #56] celebrates his second-place overall finish in the Group 1 race at the ARRC |
|
IMGP2964.jpg |
Nov 11 |
1 |
Podium |
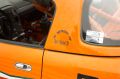
Todd Buras' #56 ASM car offered codolences to the Fowler family, as did quite a few of the cars at the ARRC this year |

|
IMGP2965.jpg |
Nov 11 |
1 |
Podium |
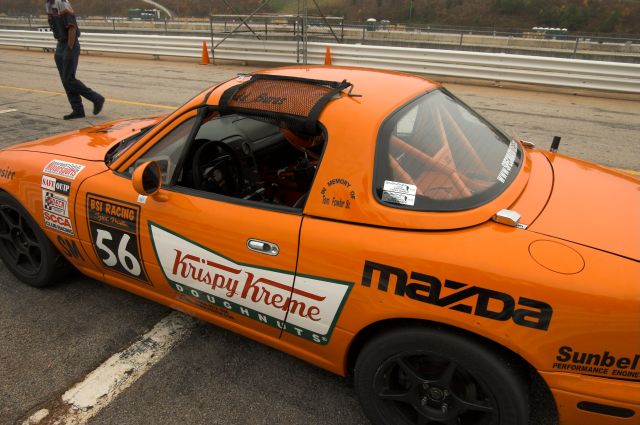
Todd Buras [ASM #56] second place car in Victory Lane after the Group 1 ARRC race |
|
IMGP2966.jpg |
Nov 11 |
1 |
Podium |
Overall winner Michael Cottrell [ASM #99] arrives on the podium after the Group 1 ARRC race |
|
IMGP2967.jpg |
Nov 11 |
1 |
Podium |
Michael Cottrell [ASM #99] gives an interview on the podium after taking the overall win in the Group 1 race |
|
IMGP2968.jpg |
Nov 11 |
1 |
Podium |
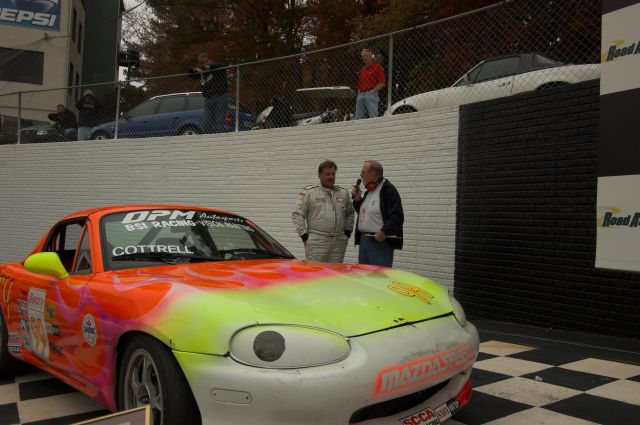
Michael Cottrell [ASM #99] and his winning chariot giving a post race interview after the Group 1 race at the ARRC |
|
IMGP2969.jpg |
Nov 11 |
1 |
Podium |
Dave Colledge [ASM #97] in Victory Lane after the Group 1 ARRC race |
|
IMGP2970.jpg |
Nov 11 |
1 |
Podium |
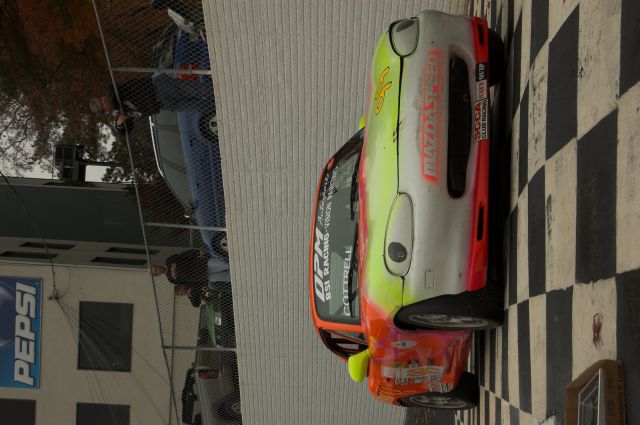
The winning car in the Group 1 ARRC race, Michael Cottrell's #99 ASM |

|
IMGP2973.jpg |
Nov 11 |
1 |
Podium |
Winner Michael Cottrell [ASM #99] and Second Place Todd Buras [ASM #56] on the podium after the Group 1 ARRC race |
|
IMGP2974.jpg |
Nov 11 |
1 |
Podium |
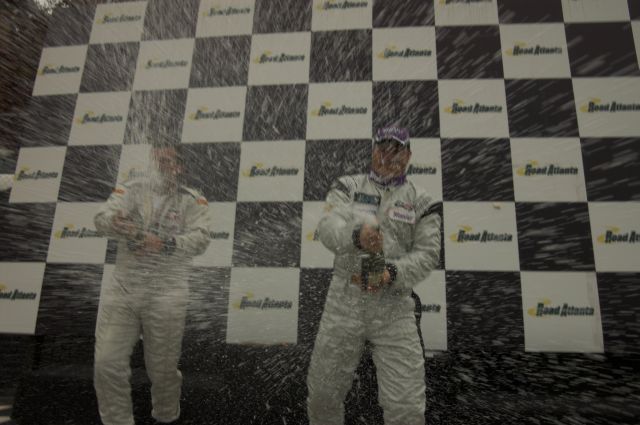
On the ASM podium after the Group 1 ARRC race, Winner Michael Cottrell [ASM #99] and Second Place Todd Buras [ASM #56] do their best to douse the photographer and the rest of the podium crowd with champagne |
|
IMGP2975.jpg |
Nov 11 |
1 |
Podium |
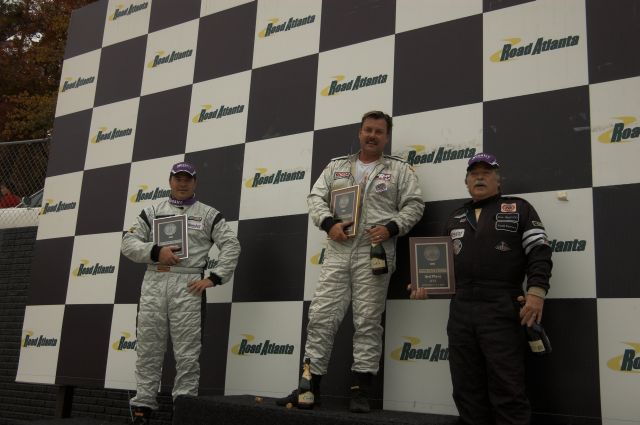
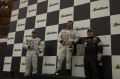
Michael Cottrell [#99, first], Todd Buras [#56, second] and Don Reynolds [#35, third] celebrate on the ASM class podium after the Group 1 ARRC race |
|
IMGP3162.jpg |
Nov 12 |
9 |
Race |
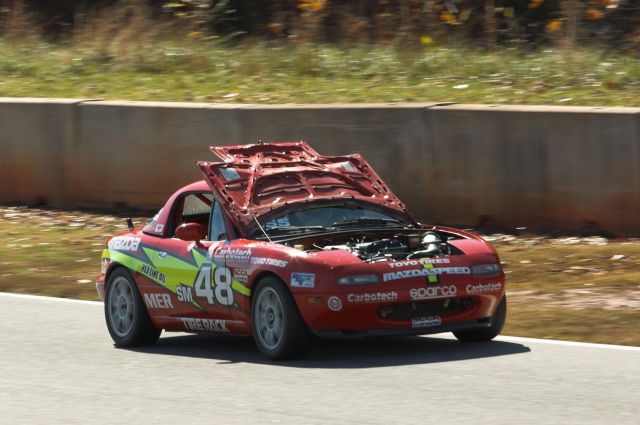
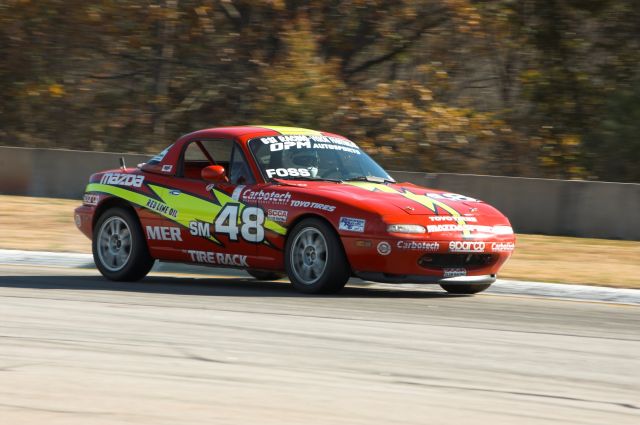
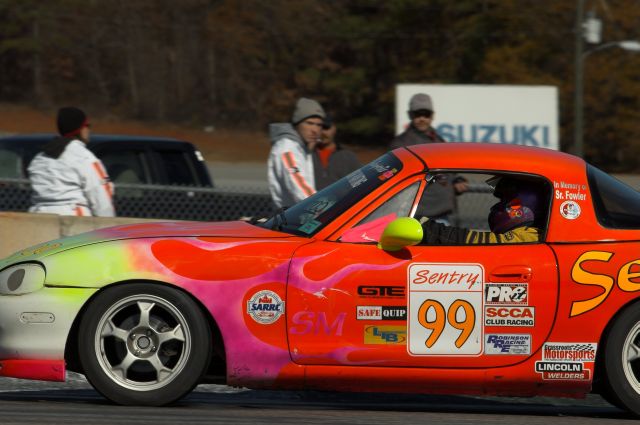
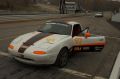
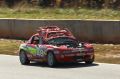
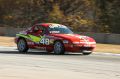
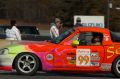
Oops! Apparently someone on Eric Foss' [ASM #48] team forgot the hood pins before the Miata Madness Group 9 ARRC race. He managed to see well enough to get back to the pits and ended up finishing seventh overall and fifth in the ASM class |
|
IMGP3166.jpg |
Nov 12 |
9 |
Race |
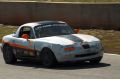
Dave Colledge [ASM #97] rushes past the flag station at Turn 8 during the Miata Madness race |
|
IMGP3167.jpg |
Nov 12 |
9 |
Race |
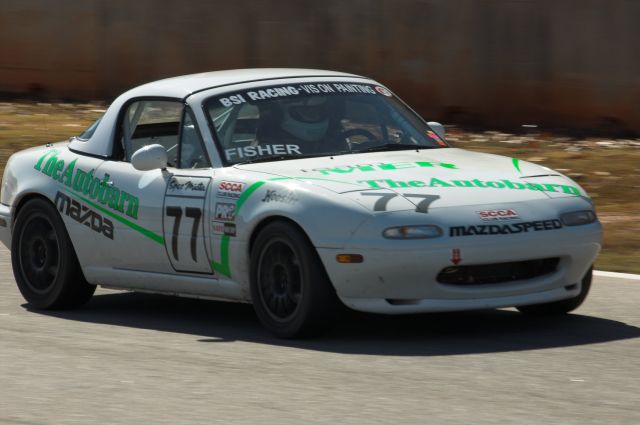
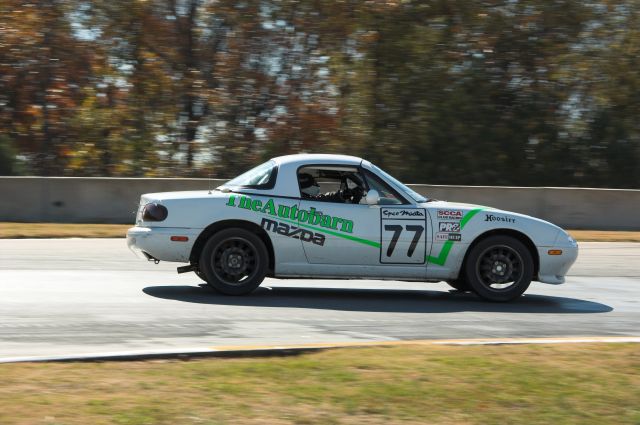
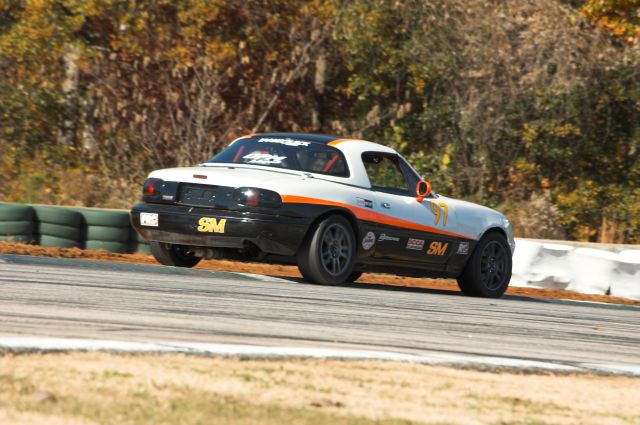
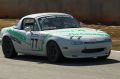
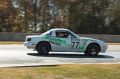
Richard Fisher [ASM #77] races down the back straight during the Miata Madness race |
|
IMGP3169.jpg |
Nov 12 |
9 |
Race |
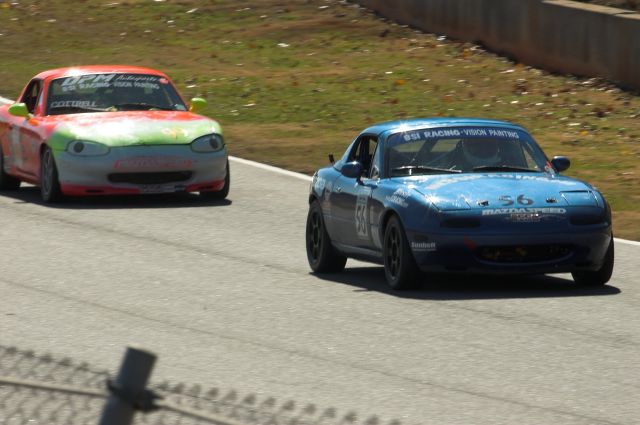
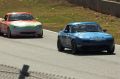
Todd Buras [ASM #56] leads Michael Cottrell [ASM #99] down the back straight during the Miata Madness race |
|
IMGP3171.jpg |
Nov 12 |
9 |
Race |
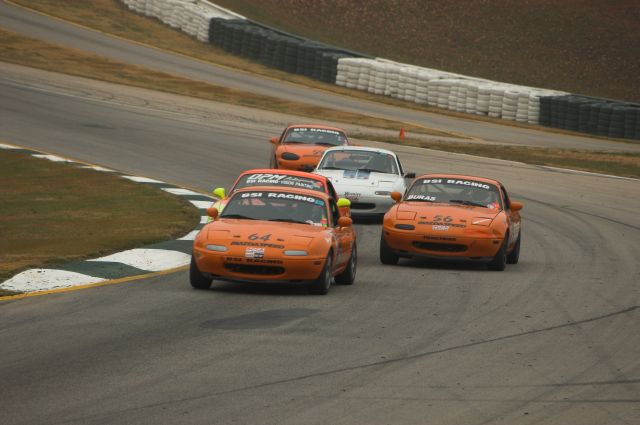
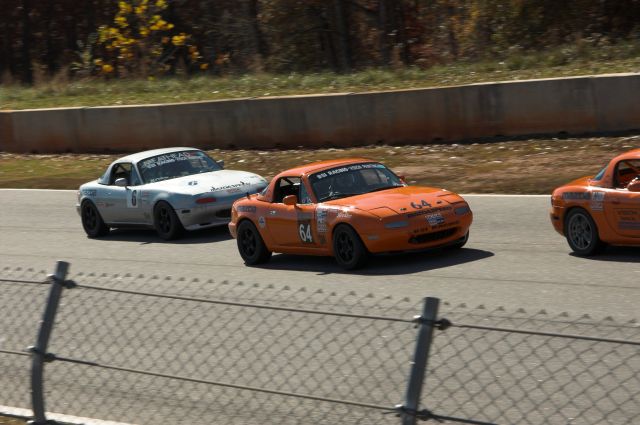
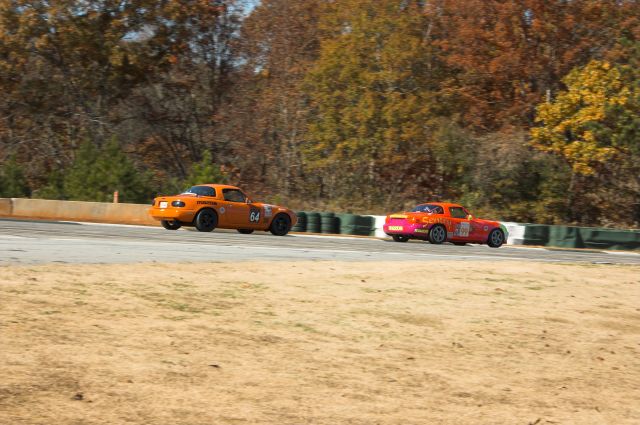
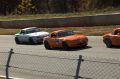
Robert Kollar [ASM #64] and Kevin Kopp [ASM #6] battle down the back straight during the Miata Madness race |
|
IMGP3172.jpg |
Nov 12 |
9 |
Race |
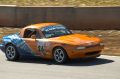
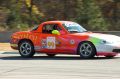
Robert Kim makes another pass down the back straight on his way to a ninth-place overall finish in the Miata Madness race |
|
IMGP3173.jpg |
Nov 12 |
9 |
Race |
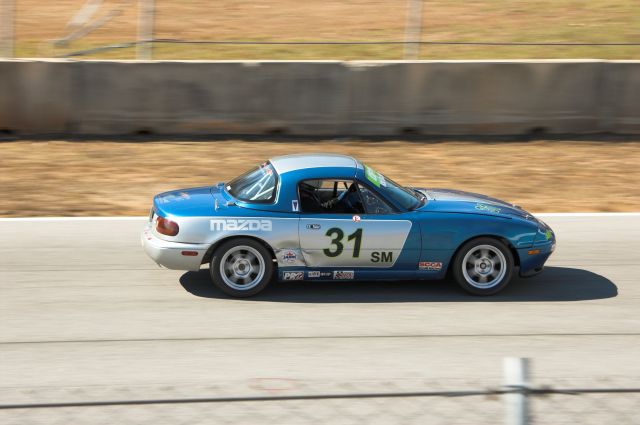
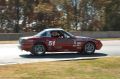
Dick Makow [ASM #31] and Julia Dawson [ASM #55] continue their battle for another run down the back straight during the Miata Madness race |
|
IMGP3174.jpg |
Nov 12 |
9 |
Race |
Dick Makow [ASM #31] and Julia Dawson [ASM #55] continue their battle for another run down the back straight during the Miata Madness race |
|
IMGP3175.jpg |
Nov 12 |
9 |
Race |
Eric Foss [ASM #48] has corrected the missing hood pins problem and continued in the Miata Madness race |
|
IMGP3176.jpg |
Nov 12 |
9 |
Race |
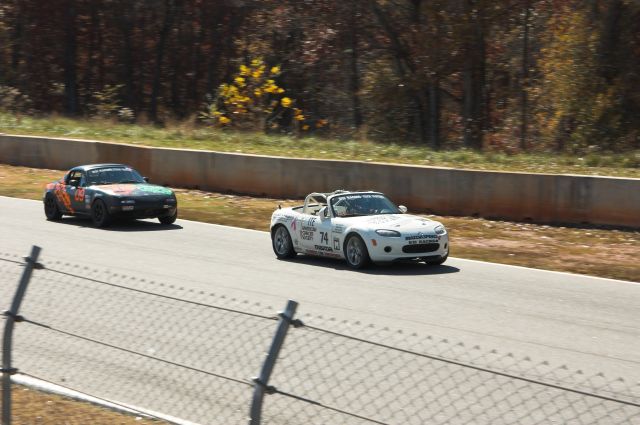
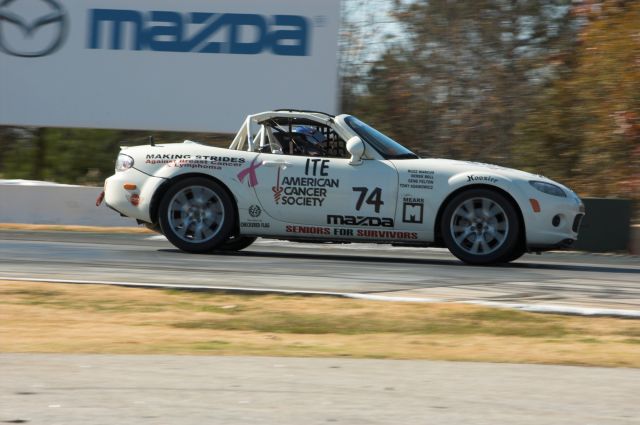
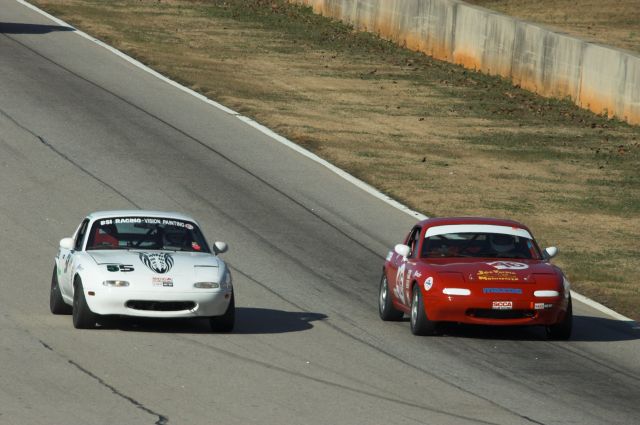
Pat Sandlin [ASM #74] and Bob Stretch [ITA #09] battled furiously for almost the entire Miata Madness race, with Sandlin eventually taking the win |
|
IMGP3177.jpg |
Nov 12 |
9 |
Race |
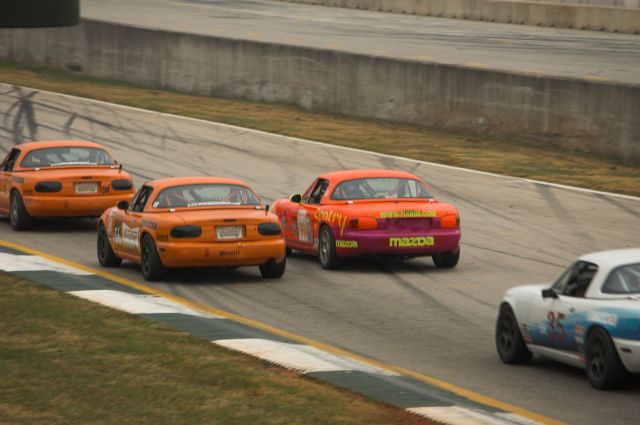
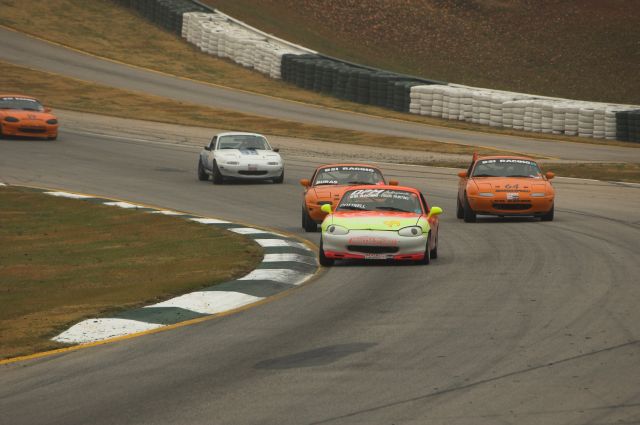
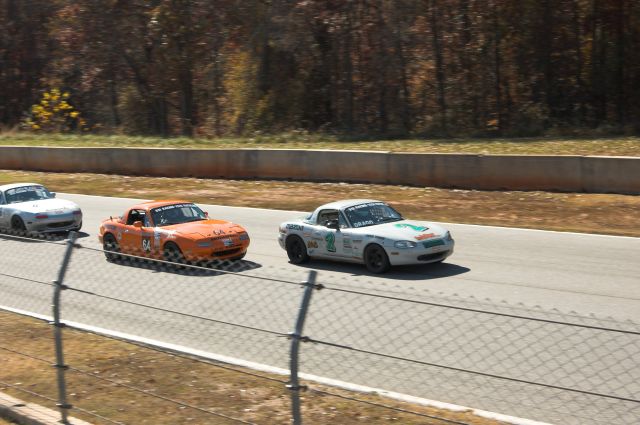
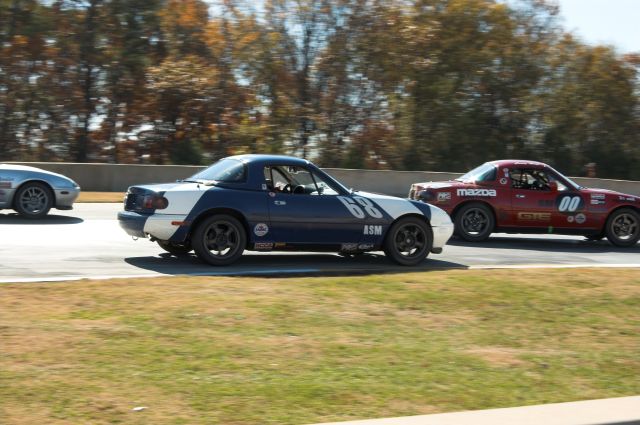
Robert Kollar [ASM #64] and Kevin Kopp [ASM #6] battle for position as they catch lapped traffic in the person of Jim Drago [ASM #2] |

|
IMGP3178.jpg |
Nov 12 |
9 |
Race |
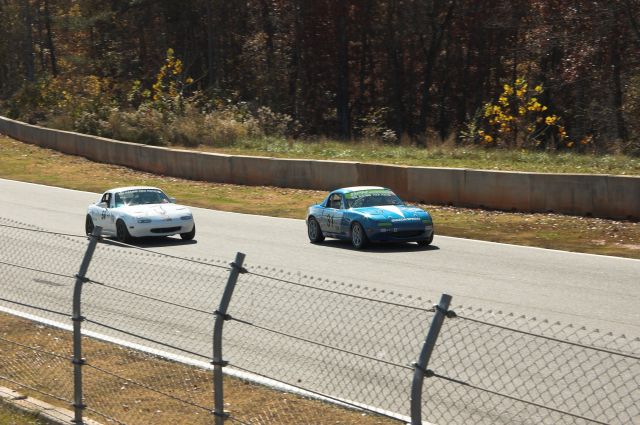
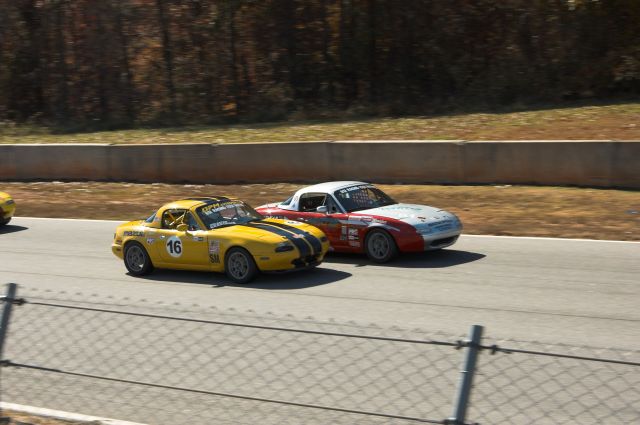
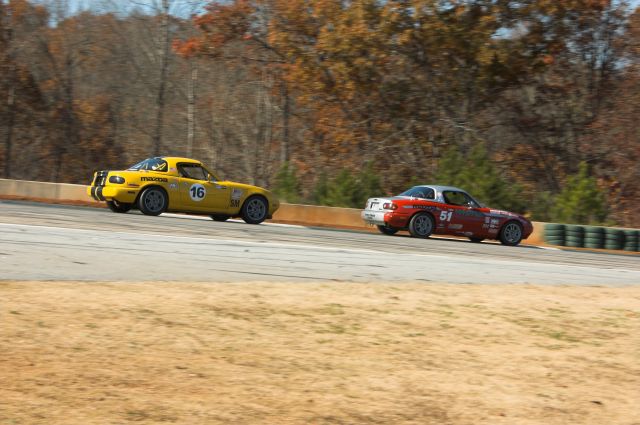
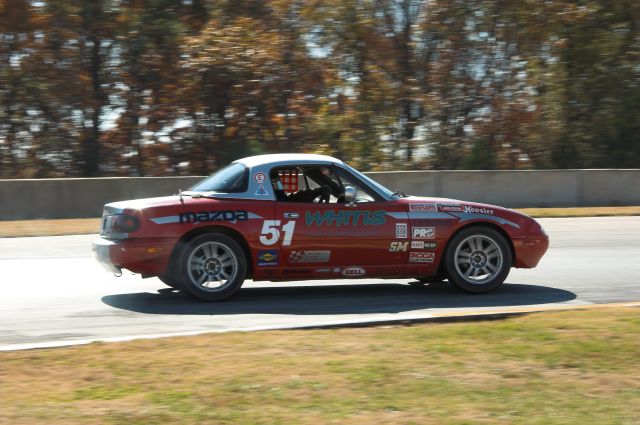
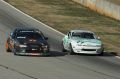
Jason Sessions [ASM #16] passes Derek Whitis [ASM #51] on the back straight during the Miata Madness race |

|
IMGP3179.jpg |
Nov 12 |
9 |
Race |
Jason Sessions [ASM #16] passes Derek Whitis [ASM #51] on the back straight during the Miata Madness race |
|
IMGP3180.jpg |
Nov 12 |
9 |
Race |
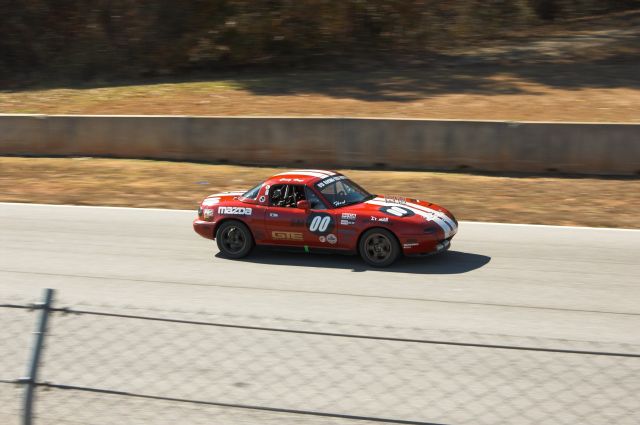
Craig Heyl [ASM #00] makes another pass of the back straight during the Miata Madness race |

|
IMGP3181.jpg |
Nov 12 |
9 |
Race |
Another lap in the hard fought battle between Pat Sandlin [ASM #74] and Bob Stretch [ITA #09] for the win in the Miata Madness race |

|
IMGP3182.jpg |
Nov 12 |
9 |
Race |
Dick Makow [ASM #31] races past the Turn 8 flag station during the Miata Madness race |

|
IMGP3183.jpg |
Nov 12 |
9 |
Race |
Eric Foss [ASM #48] races past the Turn 8 flag station during the Miata Madness race |
|
IMGP3185.jpg |
Nov 12 |
9 |
Race |
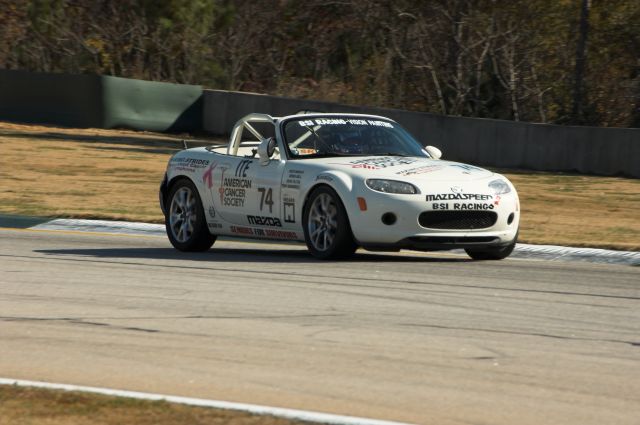
Pat Sandlin [ASM #74] leads the pack out of Turn 7 and onto the back stretch during the Miata Madness race |
|
IMGP3187.jpg |
Nov 12 |
9 |
Race |
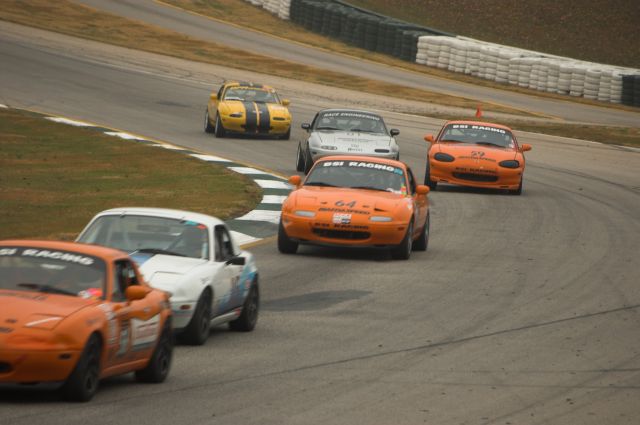
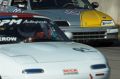
Michale Cottrell [ASM #99] leads Robert Kollar [ASM #64] out of Turn 7 and onto the back straight during the Miata Madness race |
|
IMGP3188.jpg |
Nov 12 |
9 |
Race |
Michale Cottrell [ASM #99] leads Robert Kollar [ASM #64] out of Turn 7 and onto the back straight during the Miata Madness race |
|
IMGP3189.jpg |
Nov 12 |
9 |
Race |
Todd Buras [ASM #56] leads Michael Gatto [ASM #59] out of Turn 7 and onto the back straight during the Miata Madness race |
|
IMGP3190.jpg |
Nov 12 |
9 |
Race |
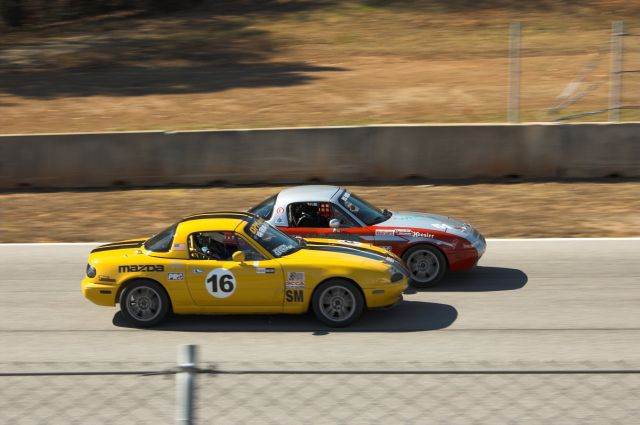
Derek Whitis [ASM #51] leads Jason Sessions [ASM #16] out of Turn 7 and onto the back straight during the Miata Madness race |
|
IMGP3191.jpg |
Nov 12 |
9 |
Race |
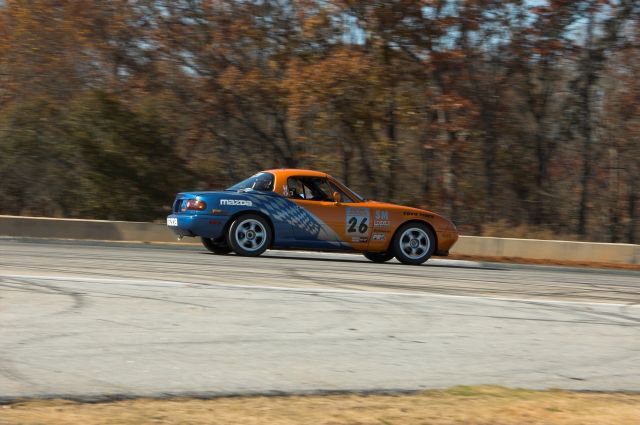
Robert Kim [ASM #26] heads out of Turn 7 and onto the back straight during the Miata Madness race |
|
IMGP3192.jpg |
Nov 12 |
9 |
Race |
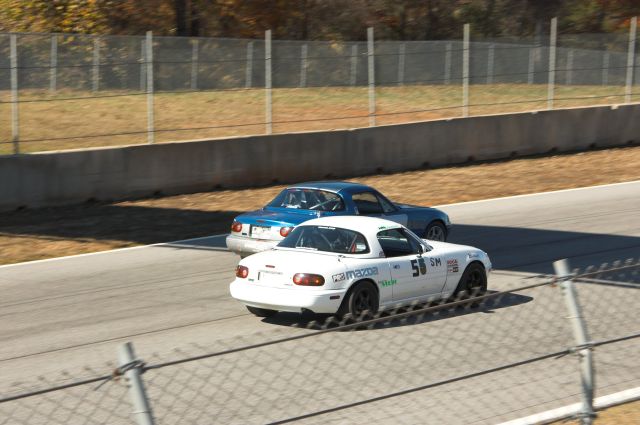
Craig Heyl [ASM #00] leads Steve Devinney [SSM #88] out of Turn 7 and onto the back straight during the Miata Madness race |

|
IMGP3193.jpg |
Nov 12 |
9 |
Race |
Pat Sandlin [ASM #74] leads the field into Turn 7 during the Miata Madness race |
|
IMGP3195.jpg |
Nov 12 |
9 |
Race |
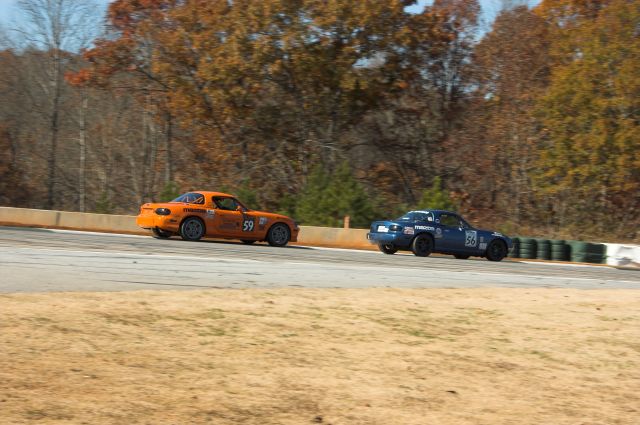
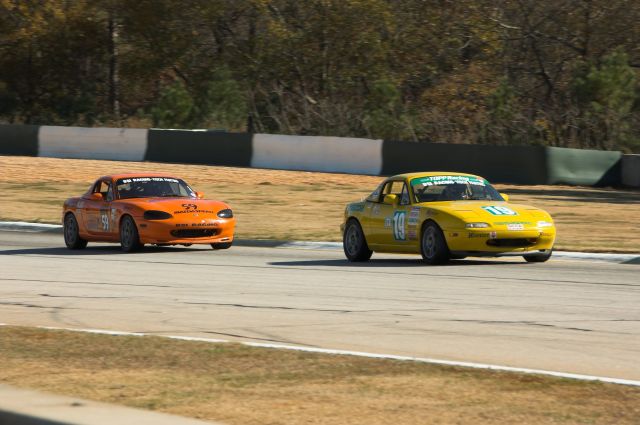
Mac Spikes [ITA #19] leads Michael Gatto [ASM #59] from Turn 6 to Turn 7 during the Miata Madness race |
|
IMGP3196.jpg |
Nov 12 |
9 |
Race |
Derek Whitis [ASM #51] leads Jason Sessions [ASM #16] from Turn 6 to Turn 7 during the Miata Madness race |
|
IMGP3197.jpg |
Nov 12 |
9 |
Race |
Craig Heyl [ASM #00] leads Steve Devinney [SSM #88] from Turn 6 to Turn 7 during the Miata Madness race |
|
IMGP3198.jpg |
Nov 12 |
9 |
Race |
Recovering nicely from the "hood pins problem" on the first lap, Eric Foss [ASM #48] pushes hard between turns six and seven trying to make up for lost time in the Miata Madness race |

|
IMGP3199.jpg |
Nov 12 |
9 |
Race |
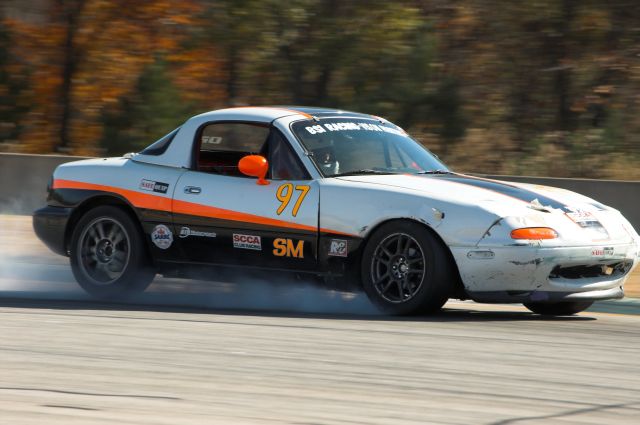
Dave Colledge [ASM #97] gets into Turn 7 a little too hard and locks up the right front wheel trying to get 'whoaed up' enough to make the turn |
|
IMGP3200.jpg |
Nov 12 |
9 |
Race |
Richard Fisher [ASM #77] approaches the apex of Turn 7 during the Miata Madness race |
|
IMGP3203.jpg |
Nov 12 |
9 |
Race |
Michael Cottrell [ASM #99] in the braking zone for Turn 7 during the Miata Madness race |

|
IMGP3205.jpg |
Nov 12 |
9 |
Race |
Michael Gatto [ASM #59] hits the apex at Turn 7 during the Miata Madness race |
|
IMGP3206.jpg |
Nov 12 |
9 |
Race |
Derek Whitis [ASM #51] approaches the apex of Turn 7 during the Miata Madness race |
|
IMGP3208.jpg |
Nov 12 |
9 |
Race |
Robert Kim [ASM #26] heads into the apex of Turn 7 during the Miata Madness race |

|
IMGP3209.jpg |
Nov 12 |
9 |
Race |
A three way battle in the middle of the pack during the Miata Madness race |
|
IMGP3210.jpg |
Nov 12 |
9 |
Race |
Colin Maclean [ASM #68] puts a move on Steve Devinney [SSM #88] going into Turn 7 and tries to get into position to pull Craig Heyl [ASM #00] out of the turn and onto the back straight |

|
IMGP3211.jpg |
Nov 12 |
9 |
Race |
Colin Maclean [ASM #68] puts a move on Steve Devinney [SSM #88] going into Turn 7 and tries to get into position to pull Craig Heyl [ASM #00] out of the turn and onto the back straight |
|
IMGP3212.jpg |
Nov 12 |
9 |
Race |
Craig Heyl [ASM #00] leads Steve Devinney [SSM #88] down the back straight during the Miata Madness race |
|
IMGP3213.jpg |
Nov 12 |
9 |
Race |
Dave Colledge [ASM #97] climbs the curbing at Turn 7's track out to hold onto just a little more speed onto the back straight |

|
IMGP3217.jpg |
Nov 12 |
9 |
Race |
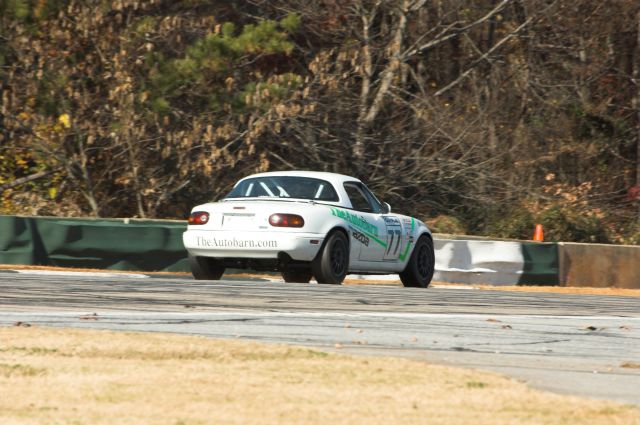
Richard Fisher [ASM #77] uses every bit of track short of the rumble strips as he leaves Turn 7 and heads down the back straight during the Miata Madness race |
|
IMGP3219.jpg |
Nov 12 |
9 |
Race |
Kevin Kopp [ASM #6] uses all of the track and half of the rumble strip tracking out from Turn 7 during the Miata Madness race |
|
IMGP3223.jpg |
Nov 12 |
9 |
Race |
Robert Kim [ASM #26] leaves Turn 7 for the back straight during the Miata Madness race |
|
IMGP3225.jpg |
Nov 12 |
9 |
Race |
Derek Whitis [ASM #51] uses all of the track, and some of the terrain, exiting Turn 7 in his battle with Michael Gatto [ASM #59] during the Miata Madness race |

|
IMGP3230.jpg |
Nov 12 |
9 |
Race |
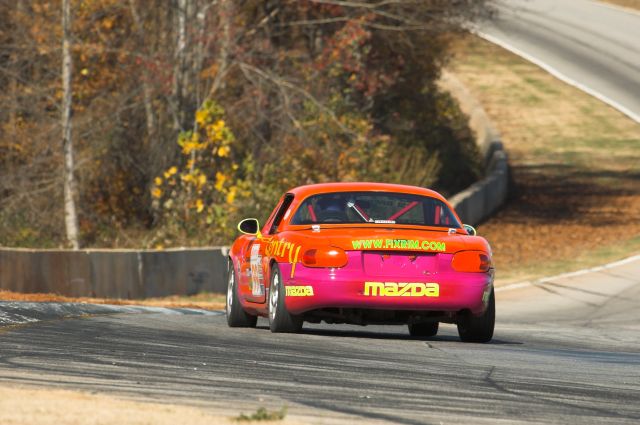
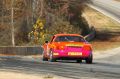
Michael Cottrell [ASM #99] takes a cool down lap after the Miata Madness race |
|
IMGP3231.jpg |
Nov 12 |
9 |
Race |
Michael Cottrell [ASM #99] takes a cool down lap after the Miata Madness race |
|
IMGP3232.jpg |
Nov 12 |
9 |
Race |
Michael Cottrell [ASM #99] takes a cool down lap after the Miata Madness race while spectators and the Turn 7 flag station crew look on |
|
IMGP3233.jpg |
Nov 12 |
9 |
Race |
Michael Cottrell [ASM #99] takes a cool down lap after the Miata Madness race |
|
IMGP3380.jpg |
Nov 12 |
11 |
Race |
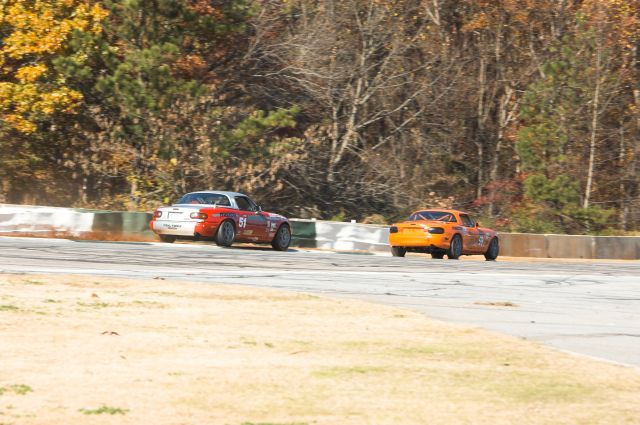
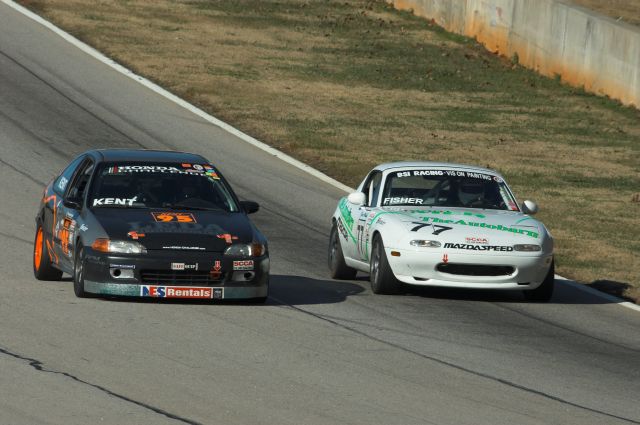
Lyonel Kent [ITA #95] tries to put a move on Richard Fisher [ASM #77] going into the braking zone for Turn 6 during the Enduro |

|
IMGP3400.jpg |
Nov 12 |
11 |
Race |
Julia Dawson [ASM #55] gives Joe Tenney [ITA #46] room to pass going into Turn 6 during the Enduro |
|
IMGP3402.jpg |
Nov 12 |
11 |
Race |
Steve Damerow [ASM #01] slashes past Devin Box [ITC #12] in the braking zone for Turn 6 during the enduro |
|
IMGP3418.jpg |
Nov 12 |
11 |
Race |
Karl Fischer [ASM #17] and Chuck Reynolds [ITA #38] dive past one of the BSI racing Miatas in the braking zone for Turn 6 during the Enduro |
|
IMGP3419.jpg |
Nov 12 |
11 |
Race |
A clse up of Karl Fischer [ASM #17] powering through a pass into Turn 6 during the Enduro |
|
IMGP3423.jpg |
Nov 12 |
11 |
Race |
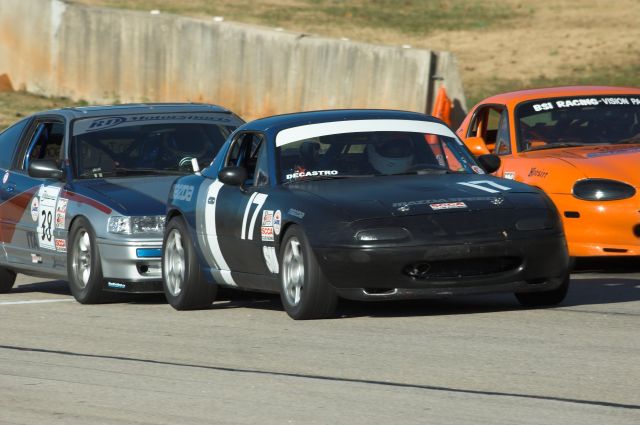
Lynn Kraft [ITS #39] and Beau Buisson [ITA #05] give Robert Fitzgerald [ASM #23] room to pass entering Turn 6 during the Enduro |
|
IMGP3439.jpg |
Nov 12 |
11 |
Race |
Julia Dawson [ASM #55] returns to the track after one of the Enduro's two mandatory pit stops |
|
IMGP3453.jpg |
Nov 12 |
11 |
Race |
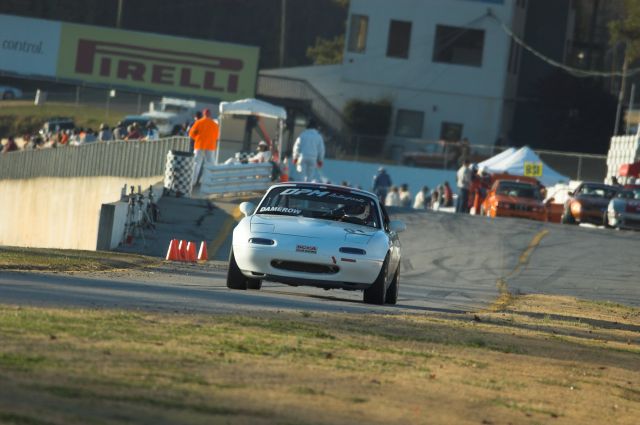
Steve Damerow [ASM #01] returns to the Enduro after the second of two mandatory pit stops |
|
IMGP3470.jpg |
Nov 12 |
11 |
Race |
Richard Ruck [ITC #11] holds off Steve Damerow [ASM #01] down the hill and through Turn 12 during the Enduro |

|
IMGP3484.jpg |
Nov 12 |
11 |
Race |
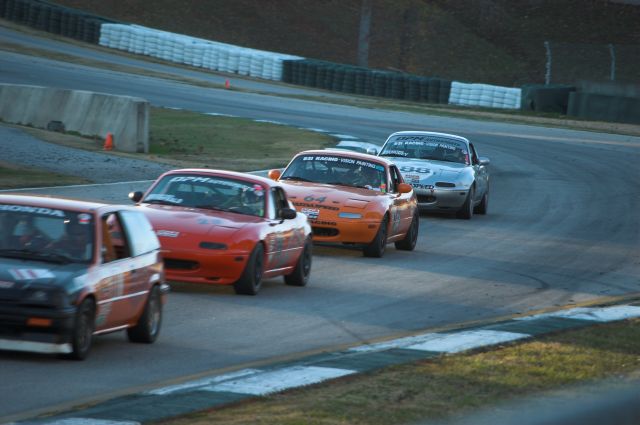
The ASM class leading pack of Miatas catches Richard Ruck [ITC #11] coming out of Turn 12 and during the Enduro |
|
IMGP3495.jpg |
Nov 12 |
11 |
Podium |
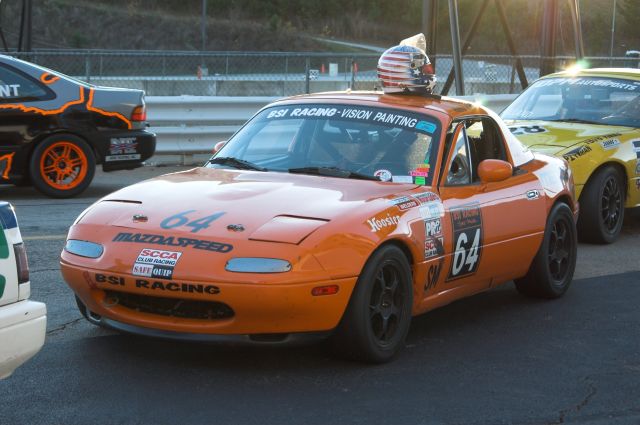
ASM class winner Robert Kollar in Victory Lane after the Enduro |
|
IMGP3506.jpg |
Nov 12 |
11 |
Podium |
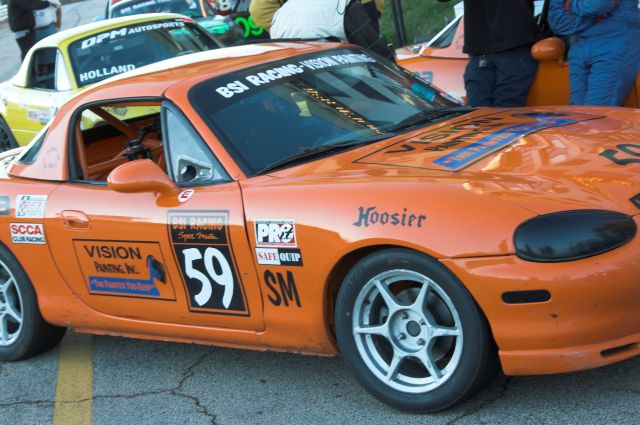
ASM Second Place Michael Gatto in Victory Lane after the Enduro |